![[object Object]](https://umsousercontent.com/lib_CUsguFEVafmoKCKW/ns6hm1s6vu8ctynd.png?w=334)
In this article, we will continue our journey towards challenge project through the use of Electric schematic editor tool for the challenge design. If you haven’t yet accepted the challenge, you can follow this guide to get started with challenge. Once you have accepted the challenge, open the project manager on the bottom right corner.
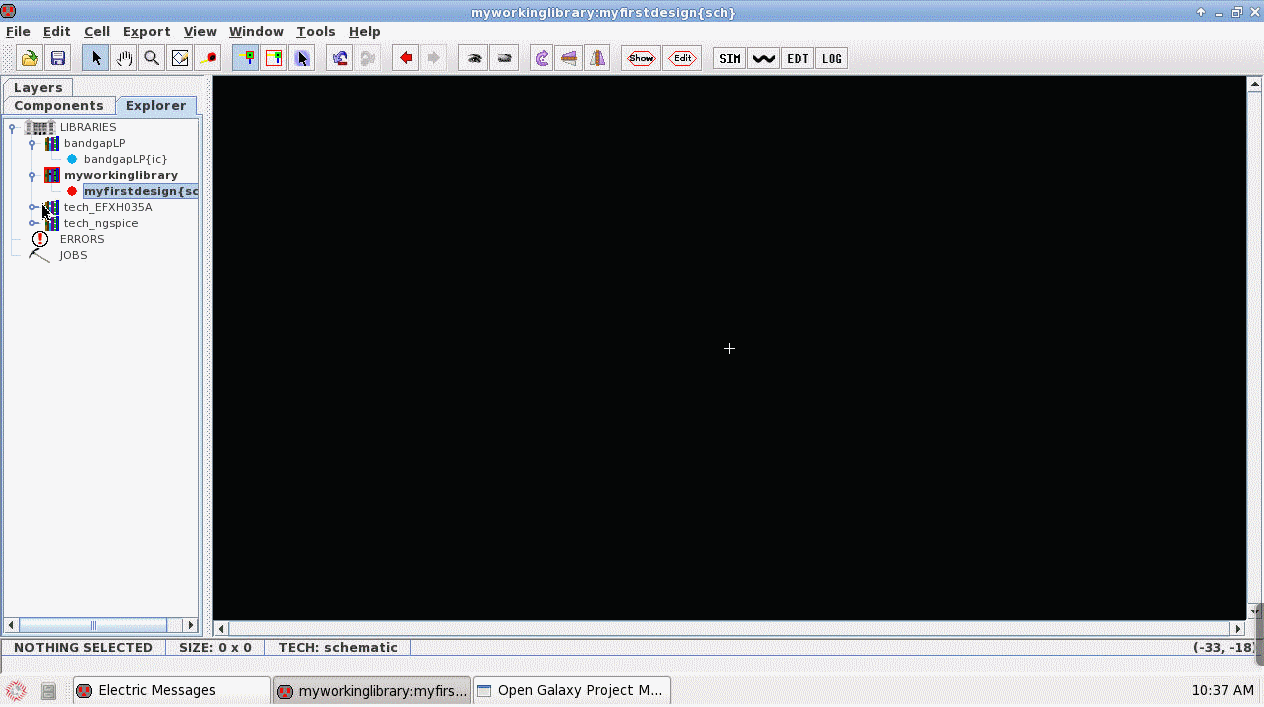
Now let’s create a working library so that you can get started with your first design.
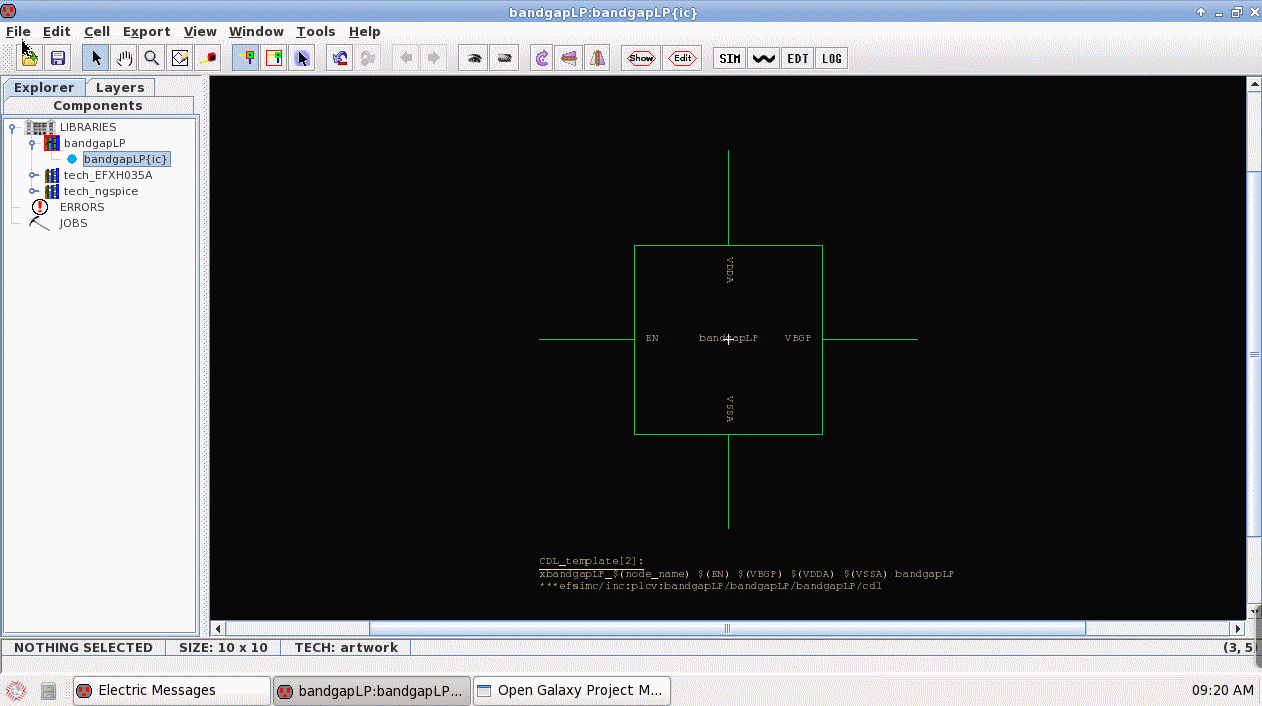
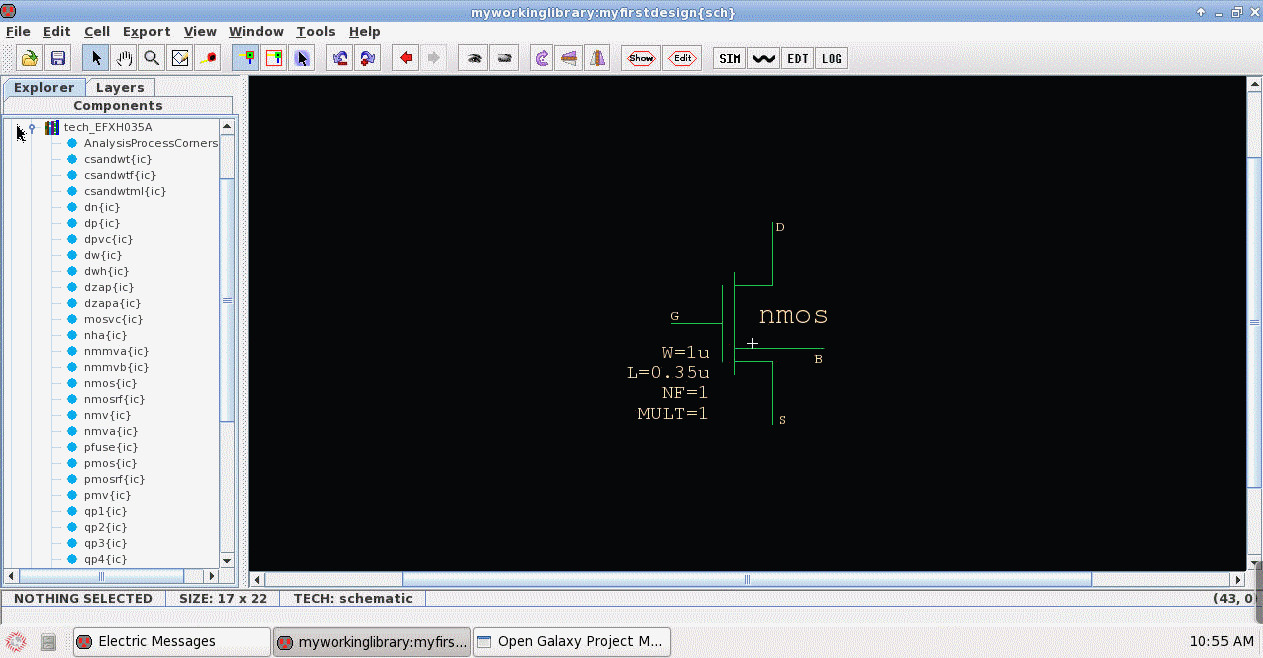
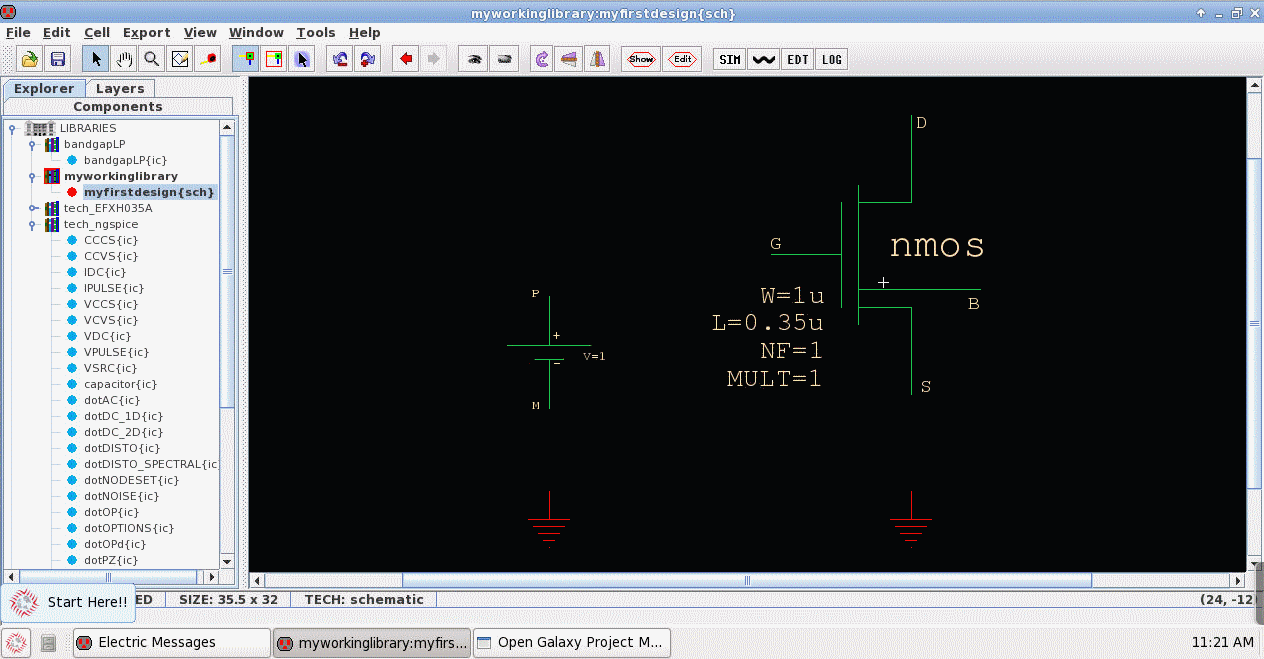
Now that you have created your first schematic myfirstdesign, we will instantiate devices from PDK library (notice how schematic view is represented with a red dot or {sch}) label against icon view with blue dot or {ic} label). To do this,
To add common analog devices like for example voltage source, we will use tech_ngspice library.
Now one might wonder how to wire devices in Electric schematic tool? Well, wires are referred as arcs in electric. It can be illustrated as following:
So what are you waiting for? Wire up your schematic away!
In the next article, we will learn how to perform basic analysis like DC, AC and transient analysis. And as always, if you have any questions, use the Help widget on the bottom right corner or email us at helpdesk@efabless.com