This article provides instructions on how to upload or update your design files into a project on the Efabless platform.
Clicking ‘Create Project’ on the Efabless platform or ‘Start’ from a chipIgnite shuttle page will bring up a form for creating a new project. Creating a project is the first step to doing a design or requesting a service such as the chipIgnite Shuttle Program.
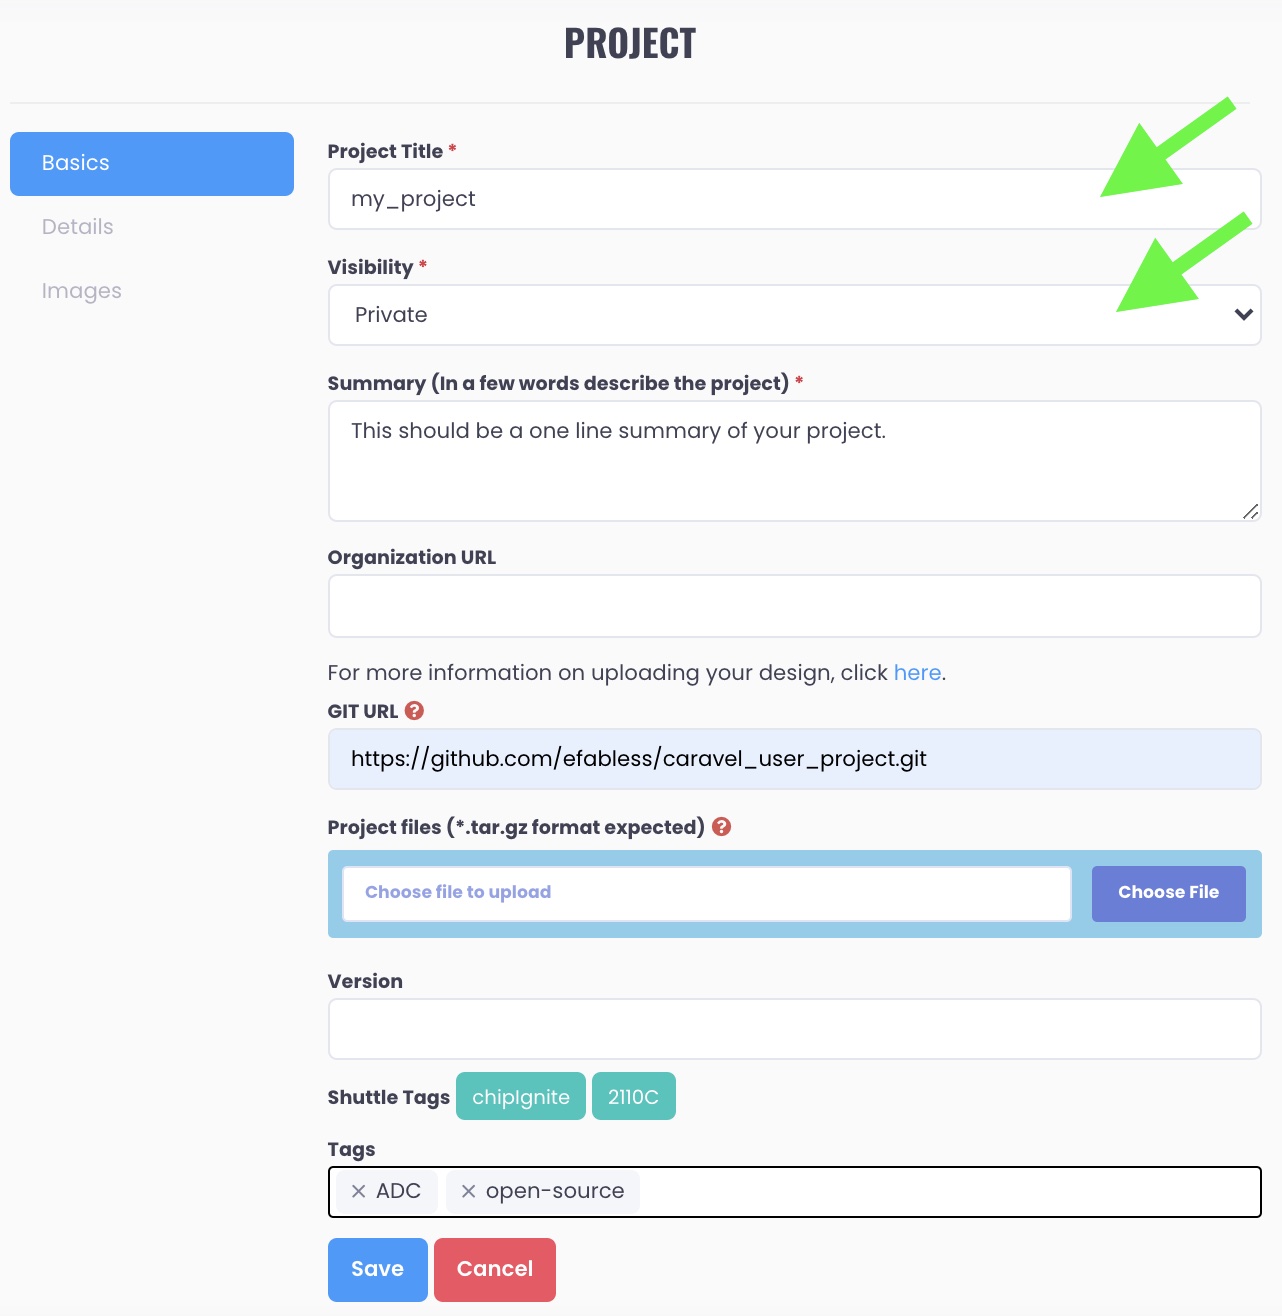
Regardless of what you want to do, you must provide a Project Title and select the Visibility on the platform as a first step. A Private project will only be seen by you whereas a Public project can be viewed by anyone visiting the Efabless site.

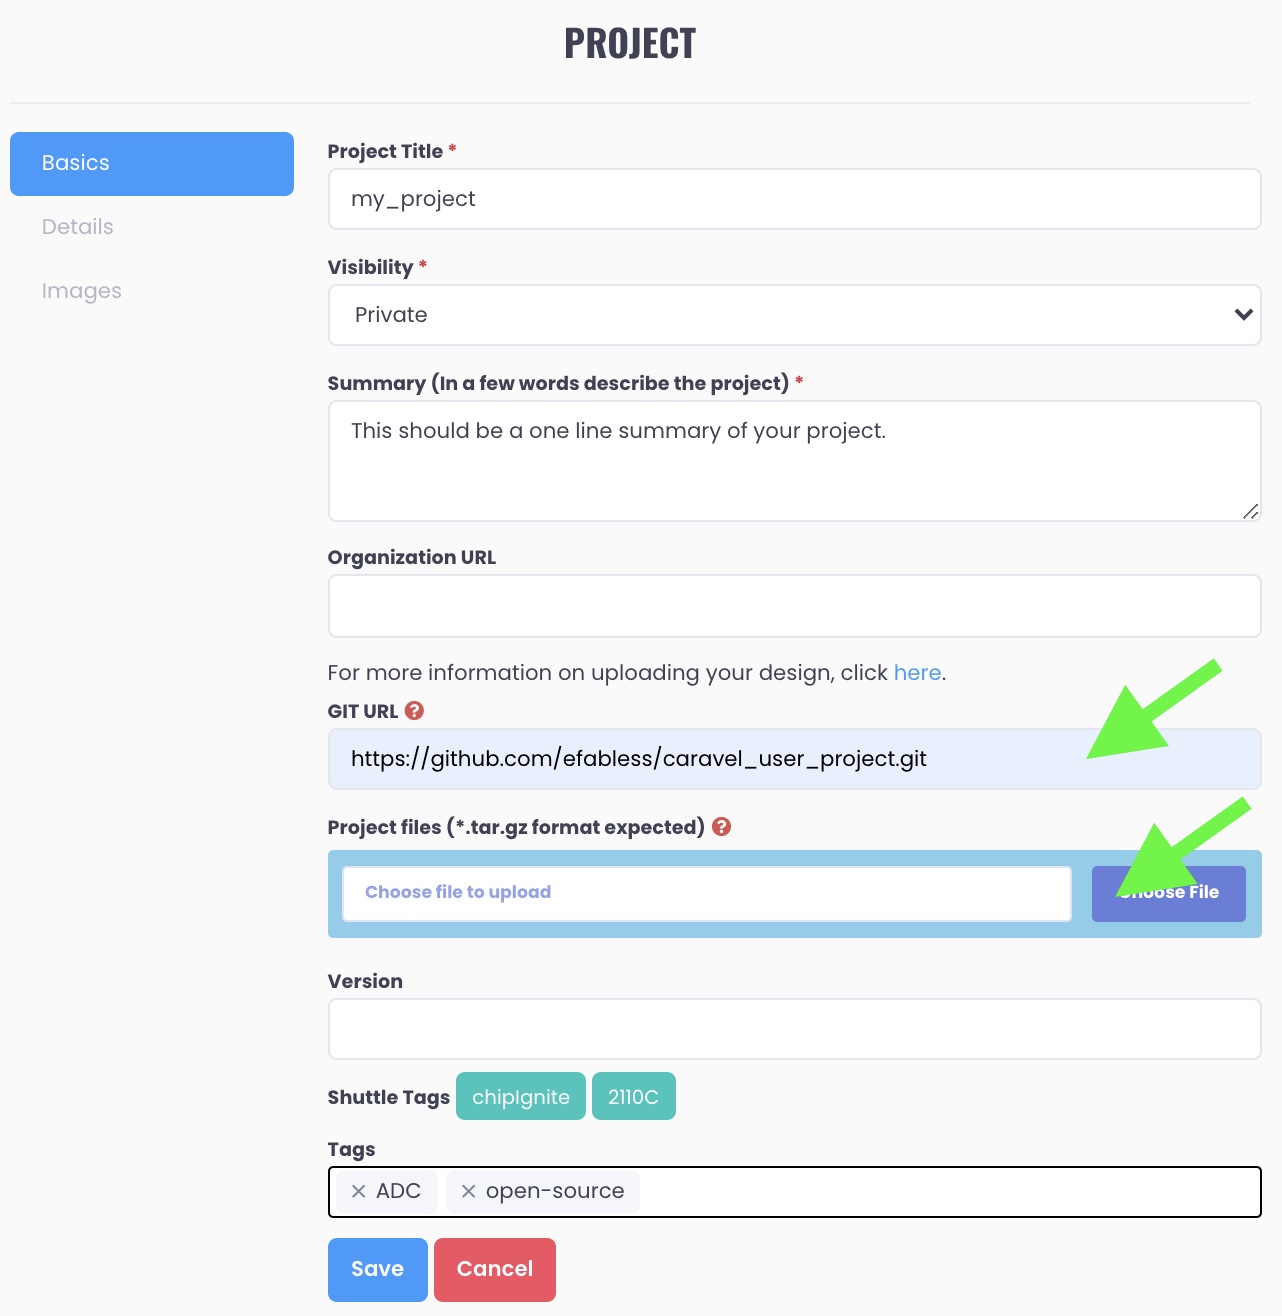
The next step is to provide either a git repo URL or upload a tar archive for any initial design files for your project. For chipIgnite or Open MPW projects, you must provide one of these options. For other projects, it’s optional.
If providing a git repo URL, you must provide an URL with a ‘https://’ prefix and a ‘.git’ suffix as shown in the example above.

For the Open MPW project, you must provide a git repo URL (versus a tar archive) and the repo must be public. For chipIgnite, you can provide either and the repo can be private. If you do provide a private URL, it must be on github.com and you must share access with the github userid ef-staff. This account is used by Efabless to support the tapeout process.
Additional fields can be provided including an organization URL, a version as well as tags that are used when searching projects.
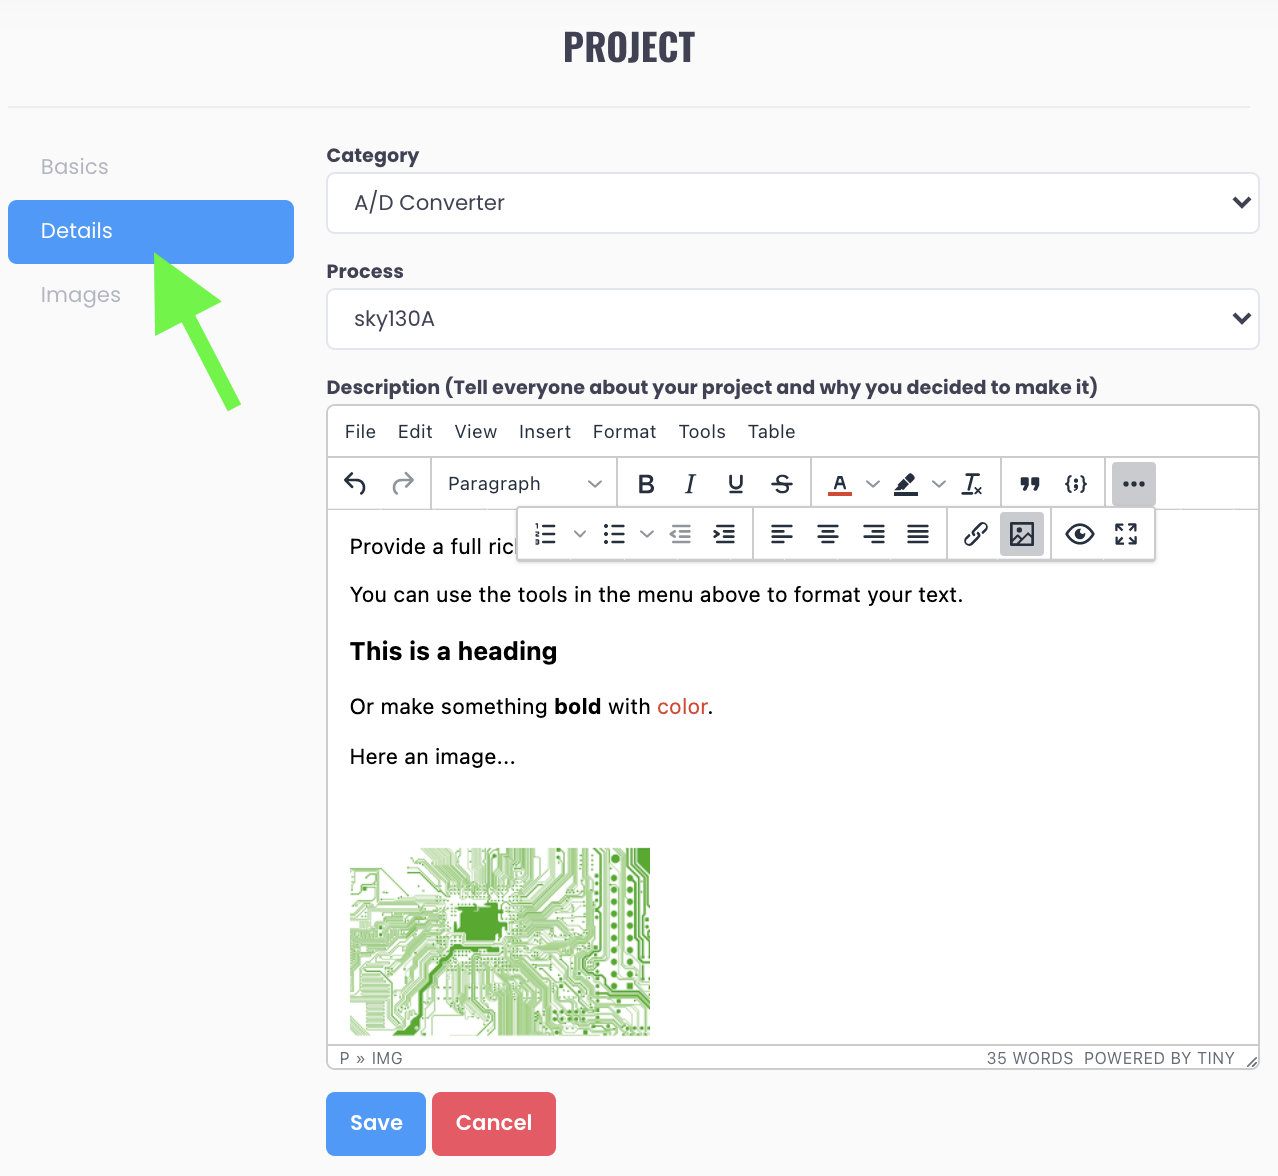
Move to the next step in the form by clicking on the ‘Details’ tab on the left.

Here you can provide a full rich-text Description of your project using the tools in the menu bar or copy-and-pasting the content from a rich-text source such a README.md file (or both).
You can also specify a category for your project from the drop-down list as well as the foundry process node.
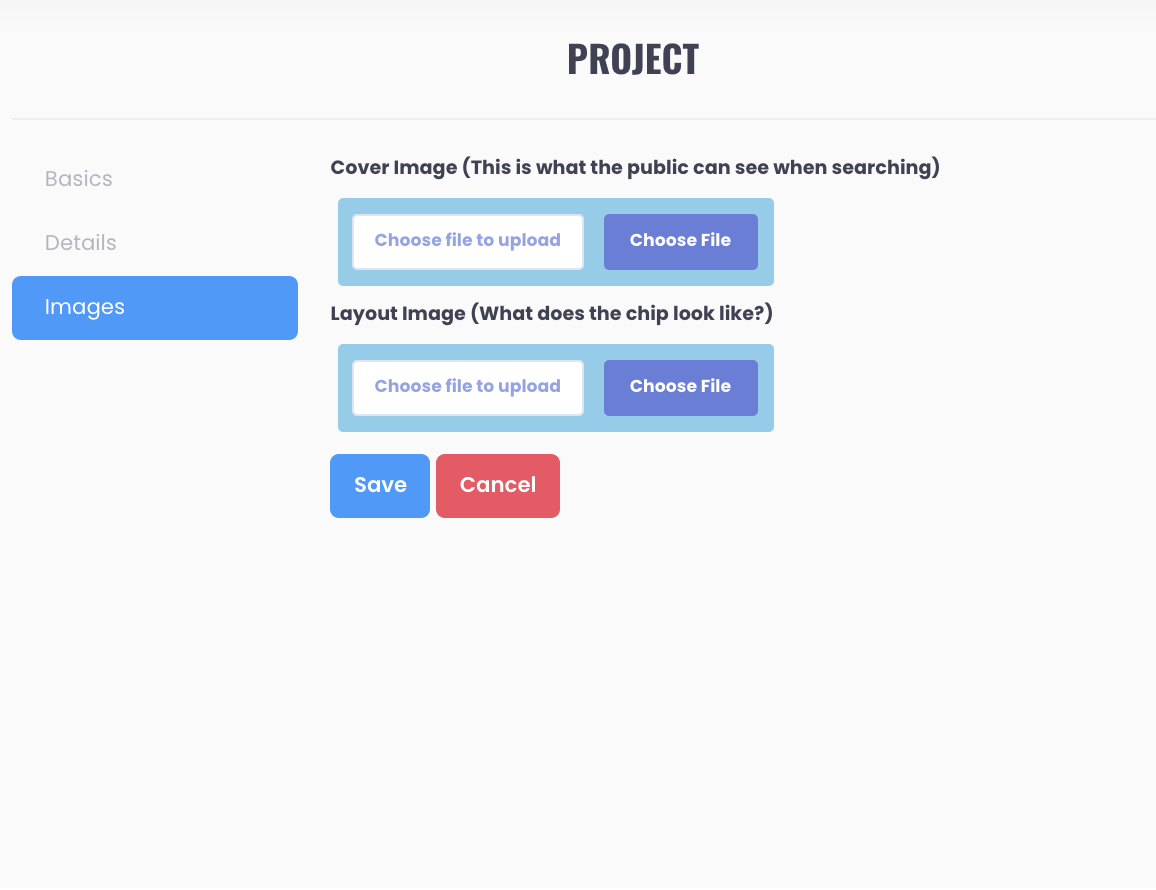
Selecting Images on the last tab allows you to specify a cover image for your project. This is display on the Efabless site for card-based gallery views of projects.

![[object Object]](https://umsousercontent.com/lib_CUsguFEVafmoKCKW/ns6hm1s6vu8ctynd.png?w=334)