The article show you how to create your first Caravel project ready for the Open MPW or chipIgnite Shuttles using OpenLane on the Efabless platform.
If you haven’t already, register on the Efabless site using the button in the top right on the home page. You will be asked to use an existing LinkedIn, Google or Github account for authentication on the platform.
After logging in, navigate to the MARKETPLACE by selecting the button in the upper menu on the home page.
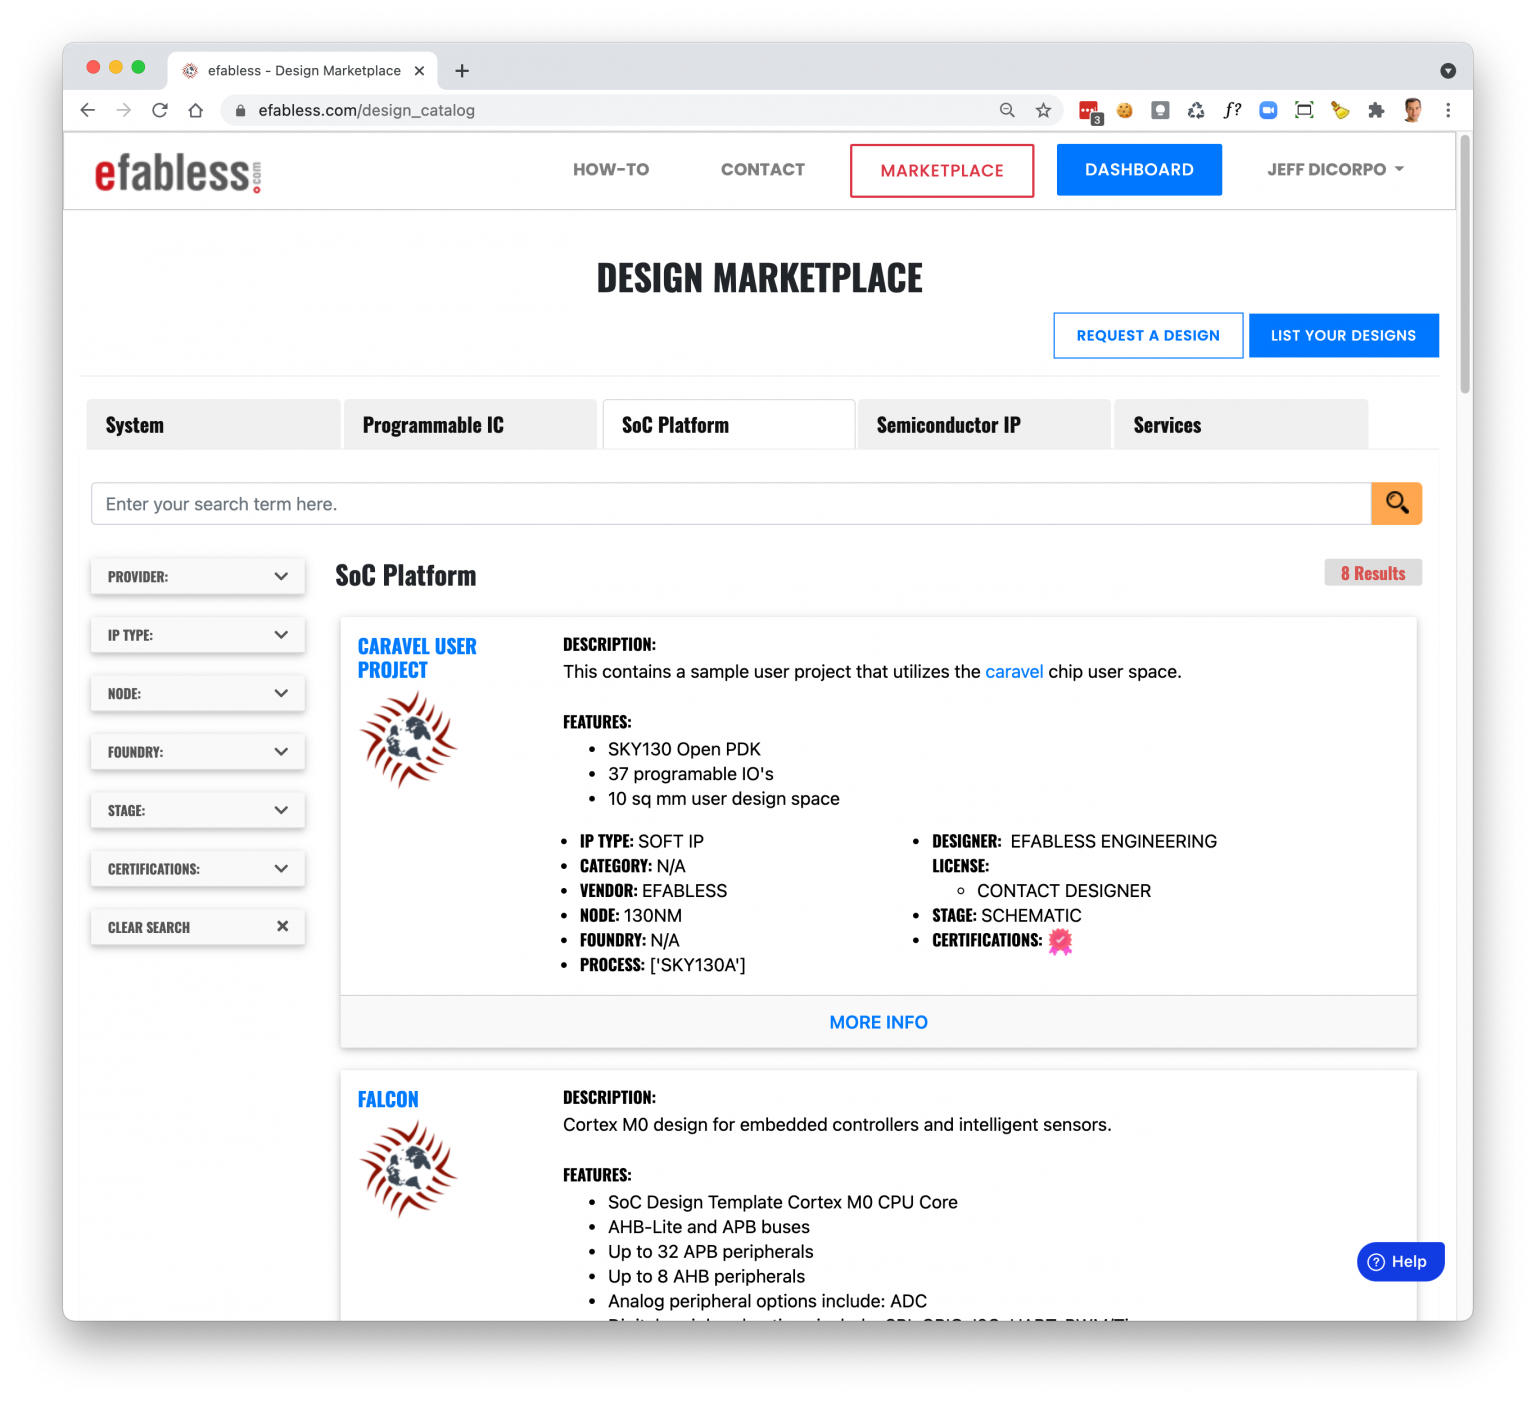
At the top of the list on the ‘SoC Platform’ tab, you should find CARAVEL USER PROJECT. Click on the title or MORE INFO to get the detailed page.
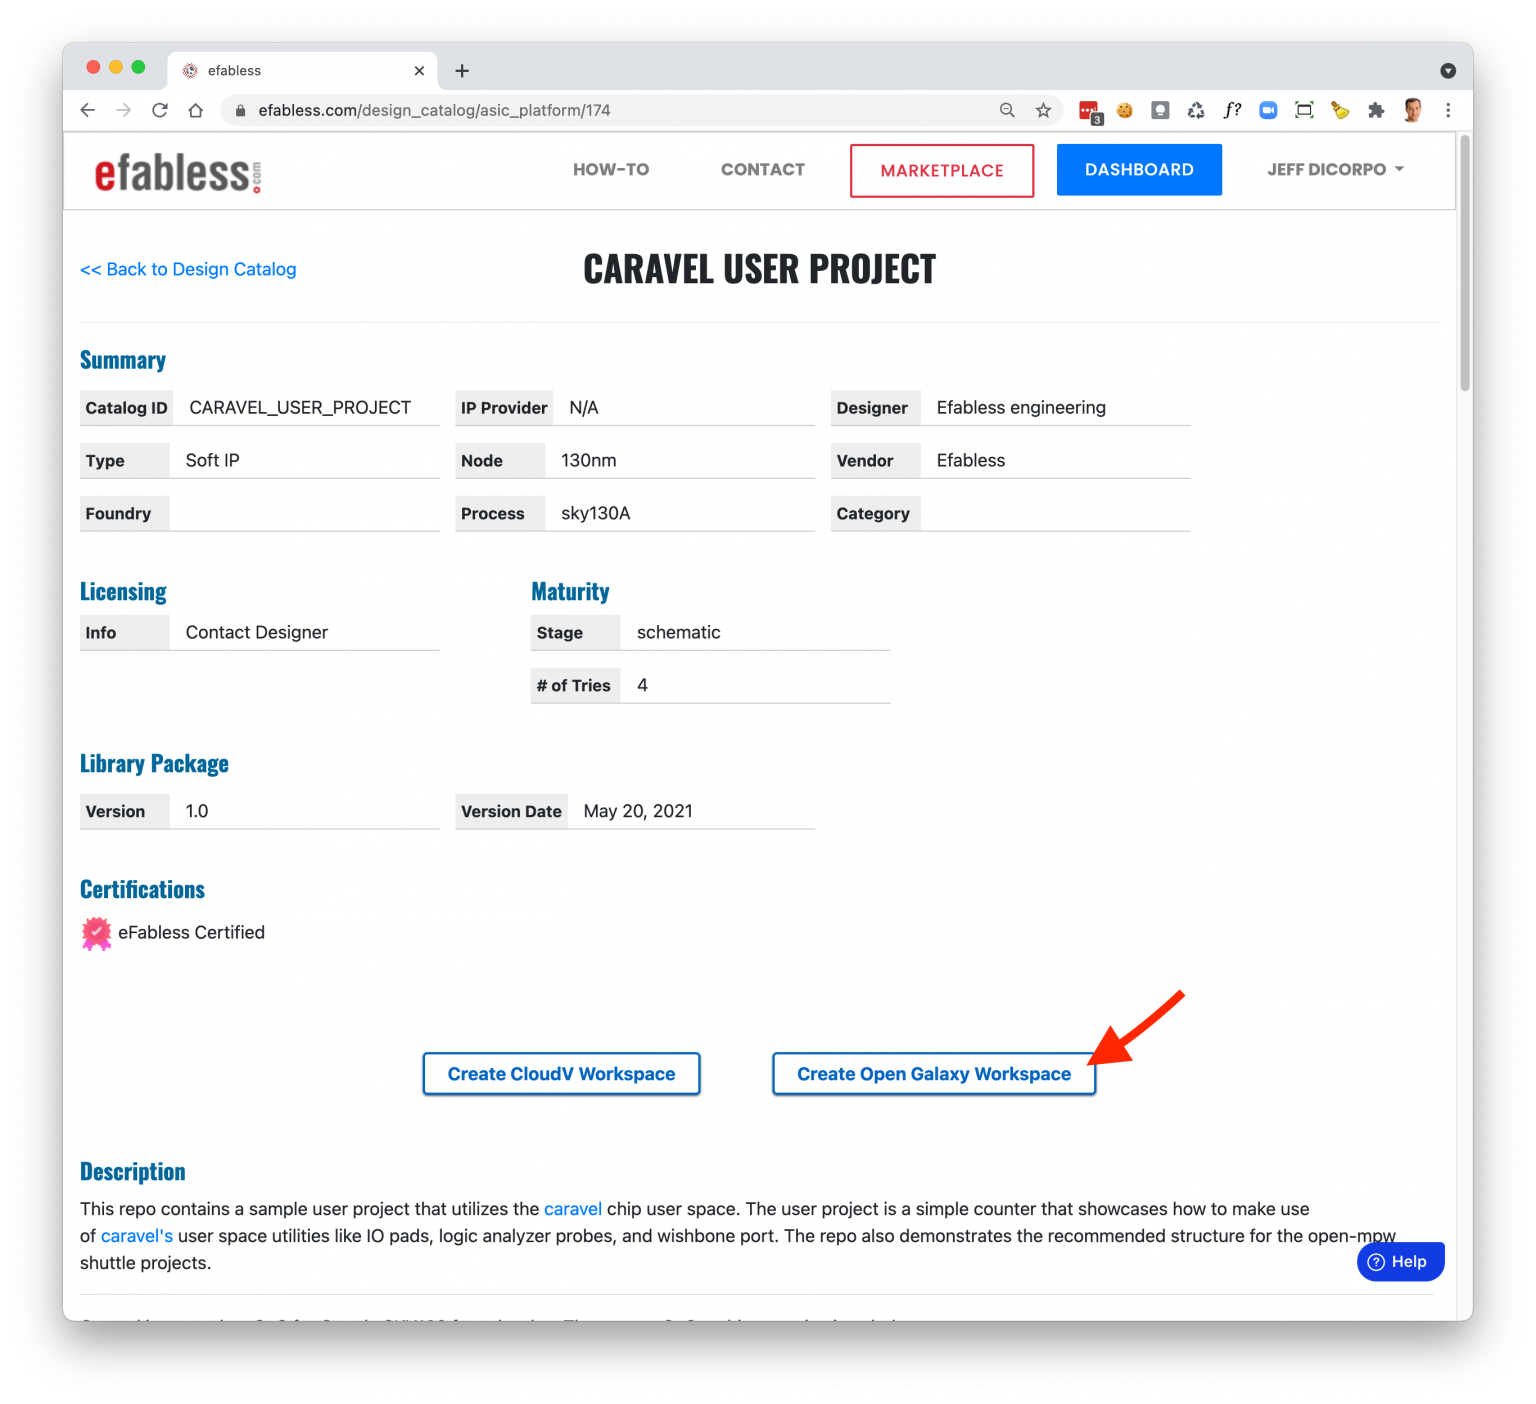
From the detailed page, select the ‘Create Open Galaxy Workspace’ button, and provide a name for your new workspace in the dialog. This will create a copy of the design files for Caravel User Project in a new workspace accessible from a virtual desktop on the platform. This will happen in the background and you will see a green notification message when the copy has finished.
To get to the desktop, navigate to the DASHBOARD using the blue button in the upper menu.
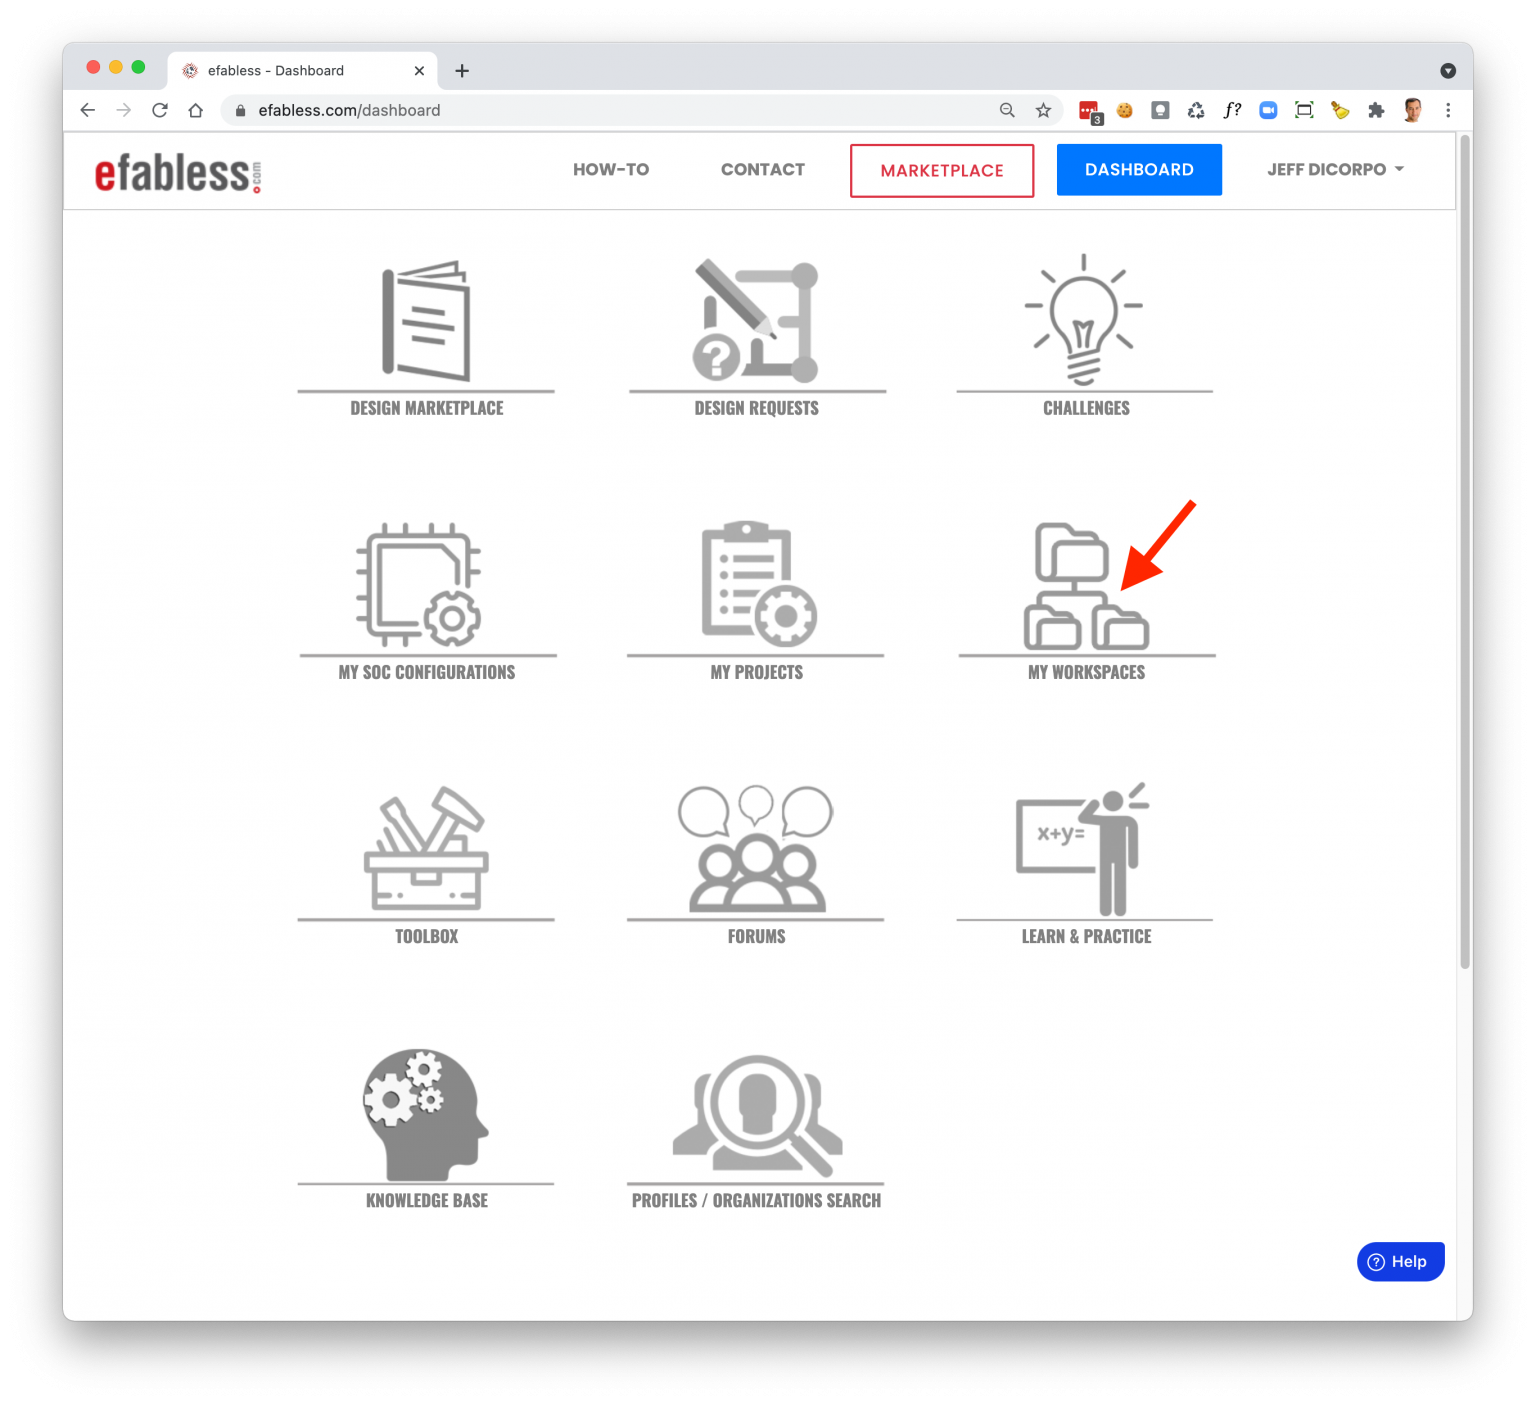
Select MY WORKSPACE and you should see the name of your new workspace listed on the Open Galaxy tab. At the top, select the Launch Open Galaxy link to launch you desktop.
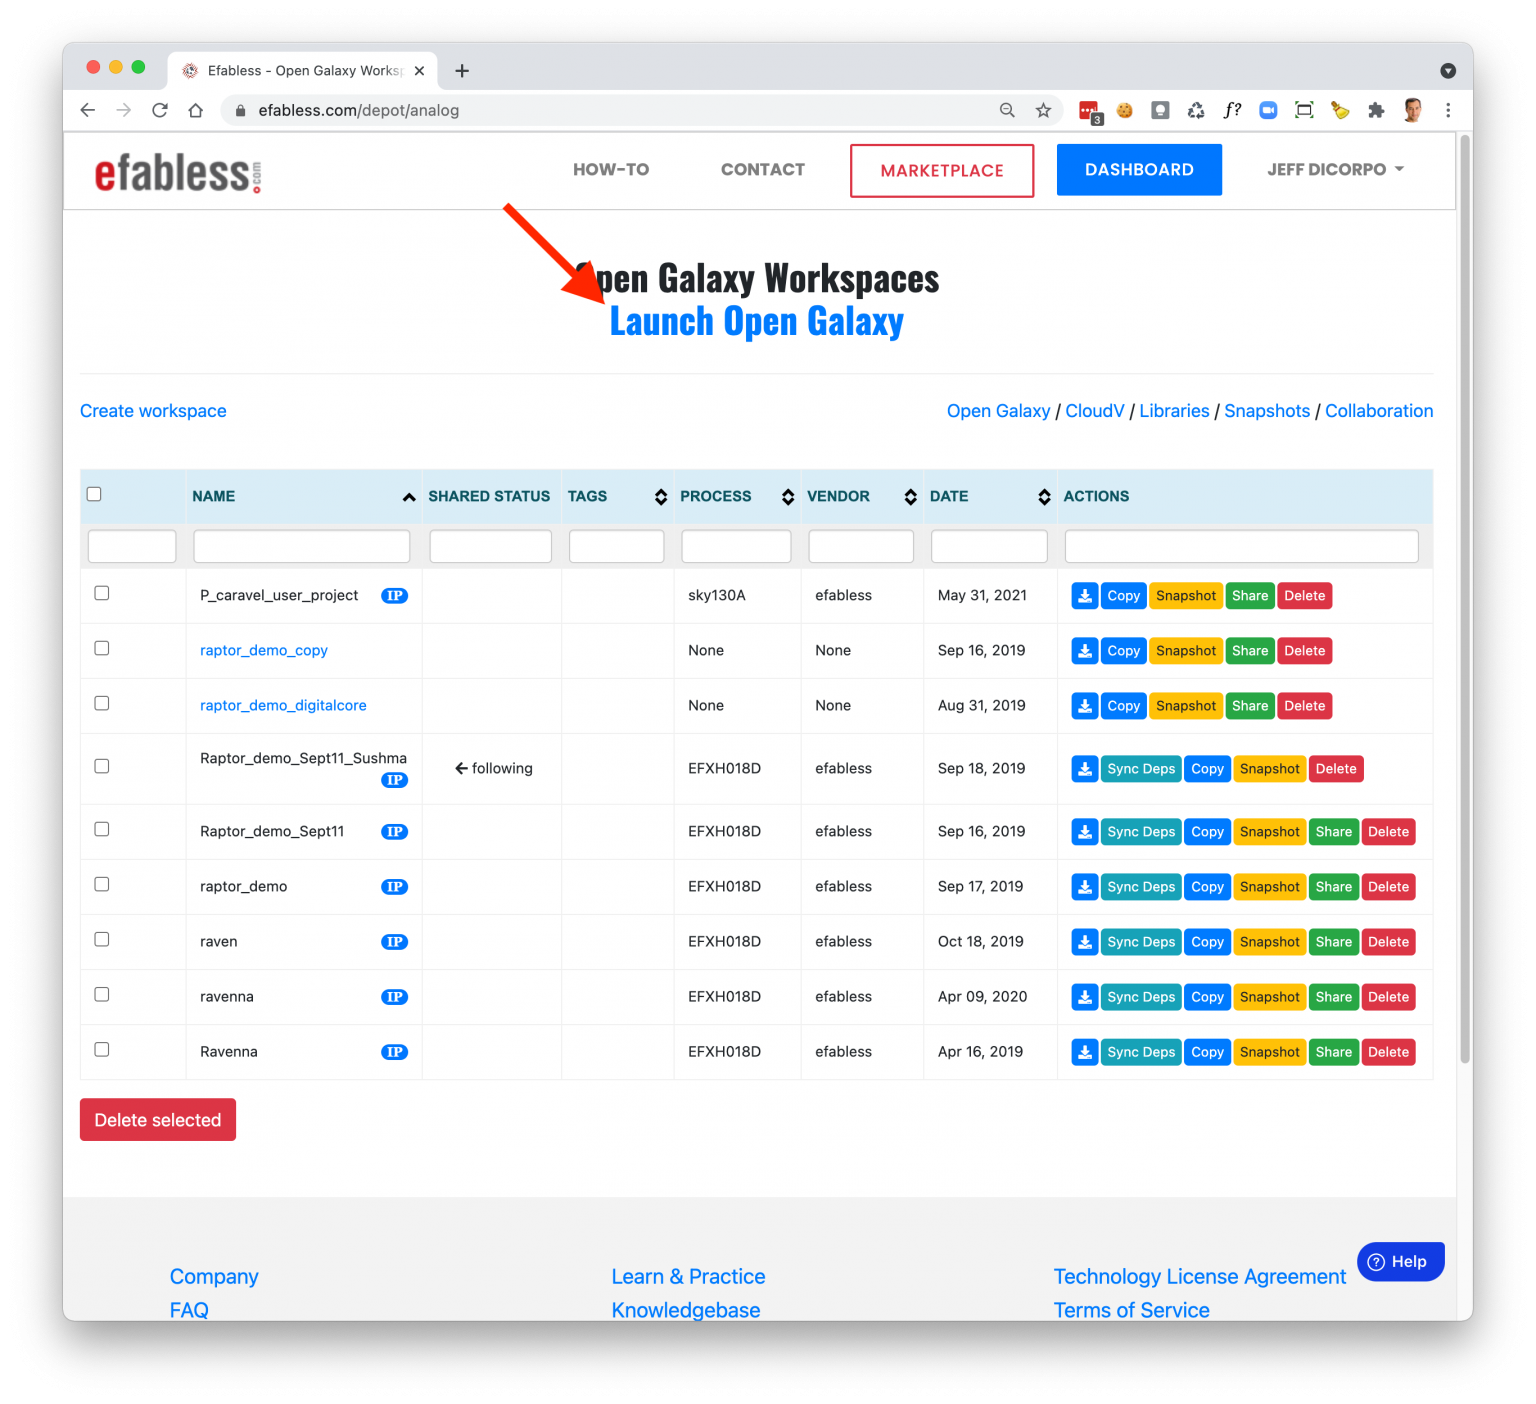
The first time you launch you Open Galaxy Desktop, the system will spin up your new desktop on the system. You will get redirected to a notifications page and will see a new message when you desktop is ready to use. You then launch from the notification message or go back to the MY WORKSPACE page.
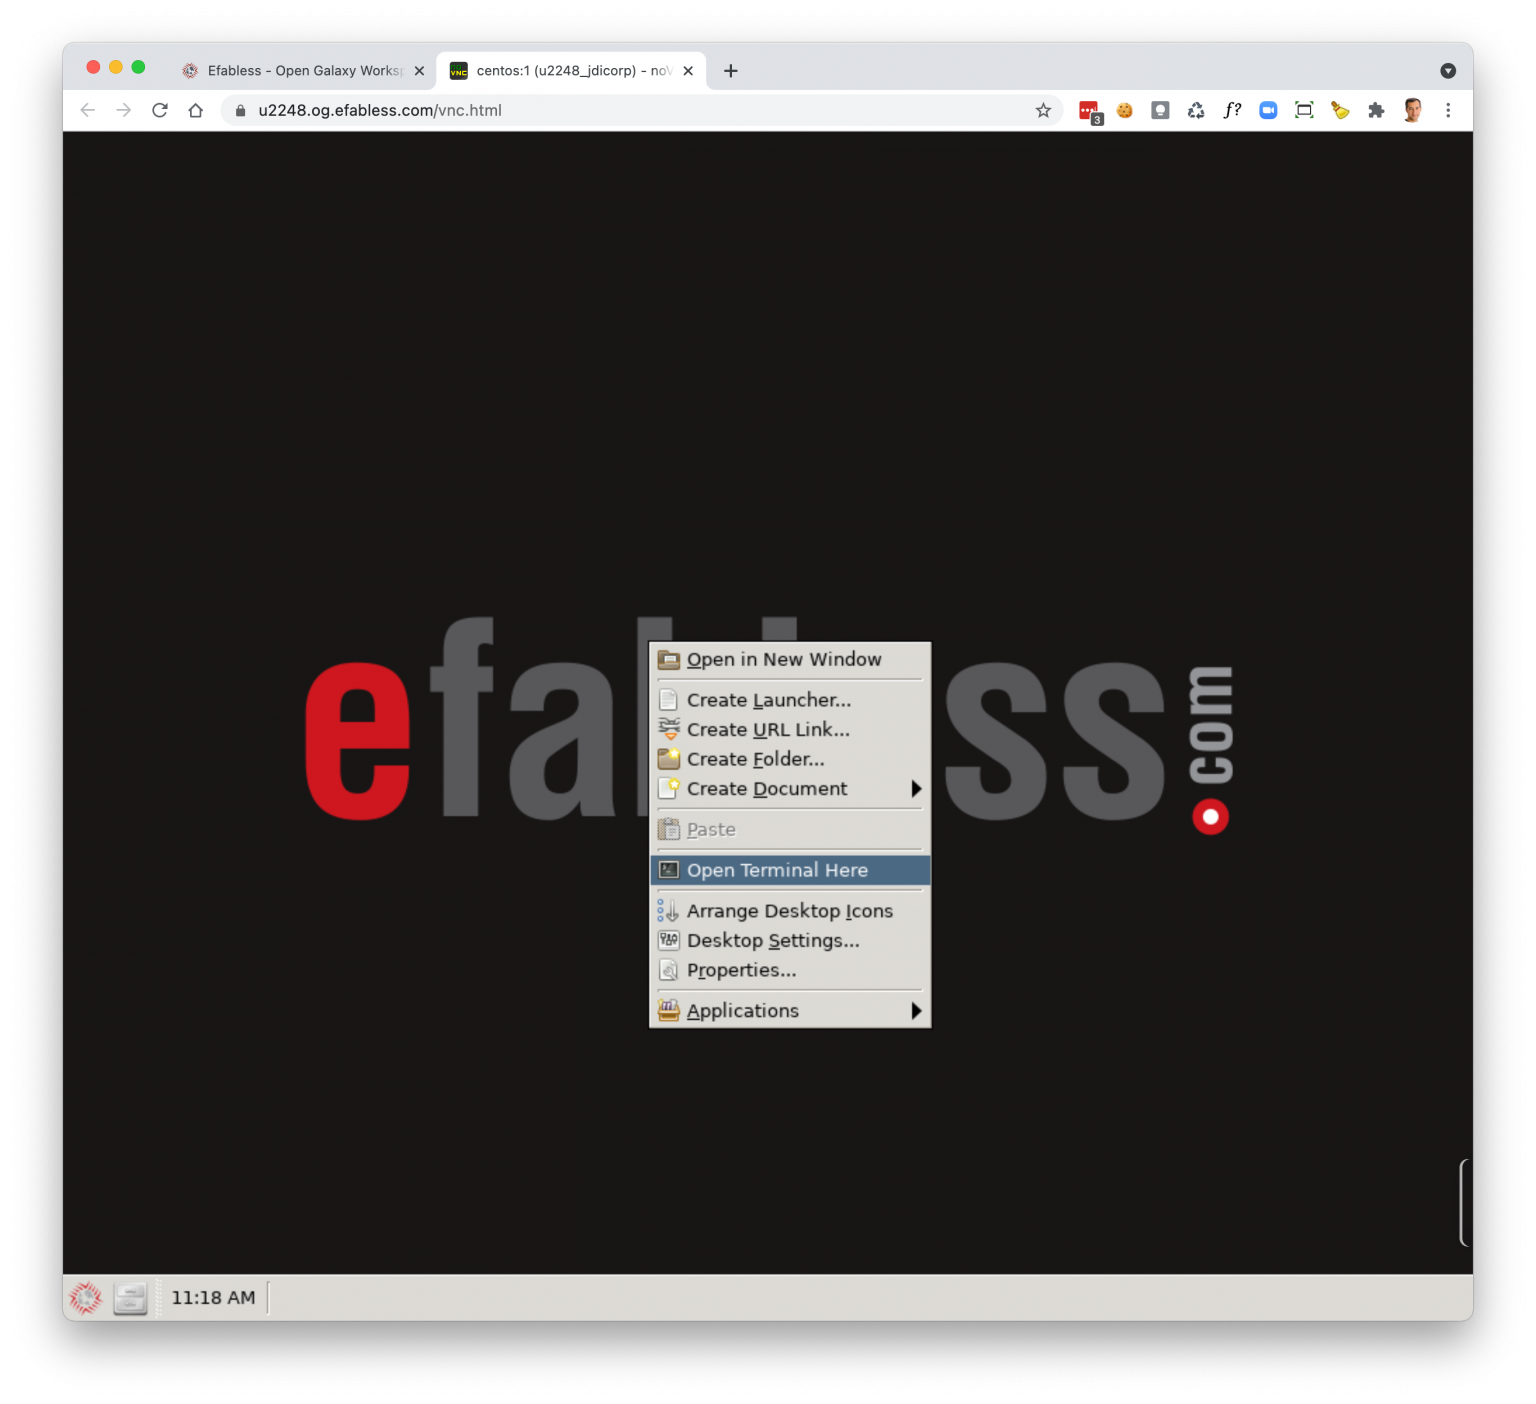
Once you have accessed you desktop, you should see a new tab in your browser similar to the following. Right click anywhere in the desktop to create a terminal window.
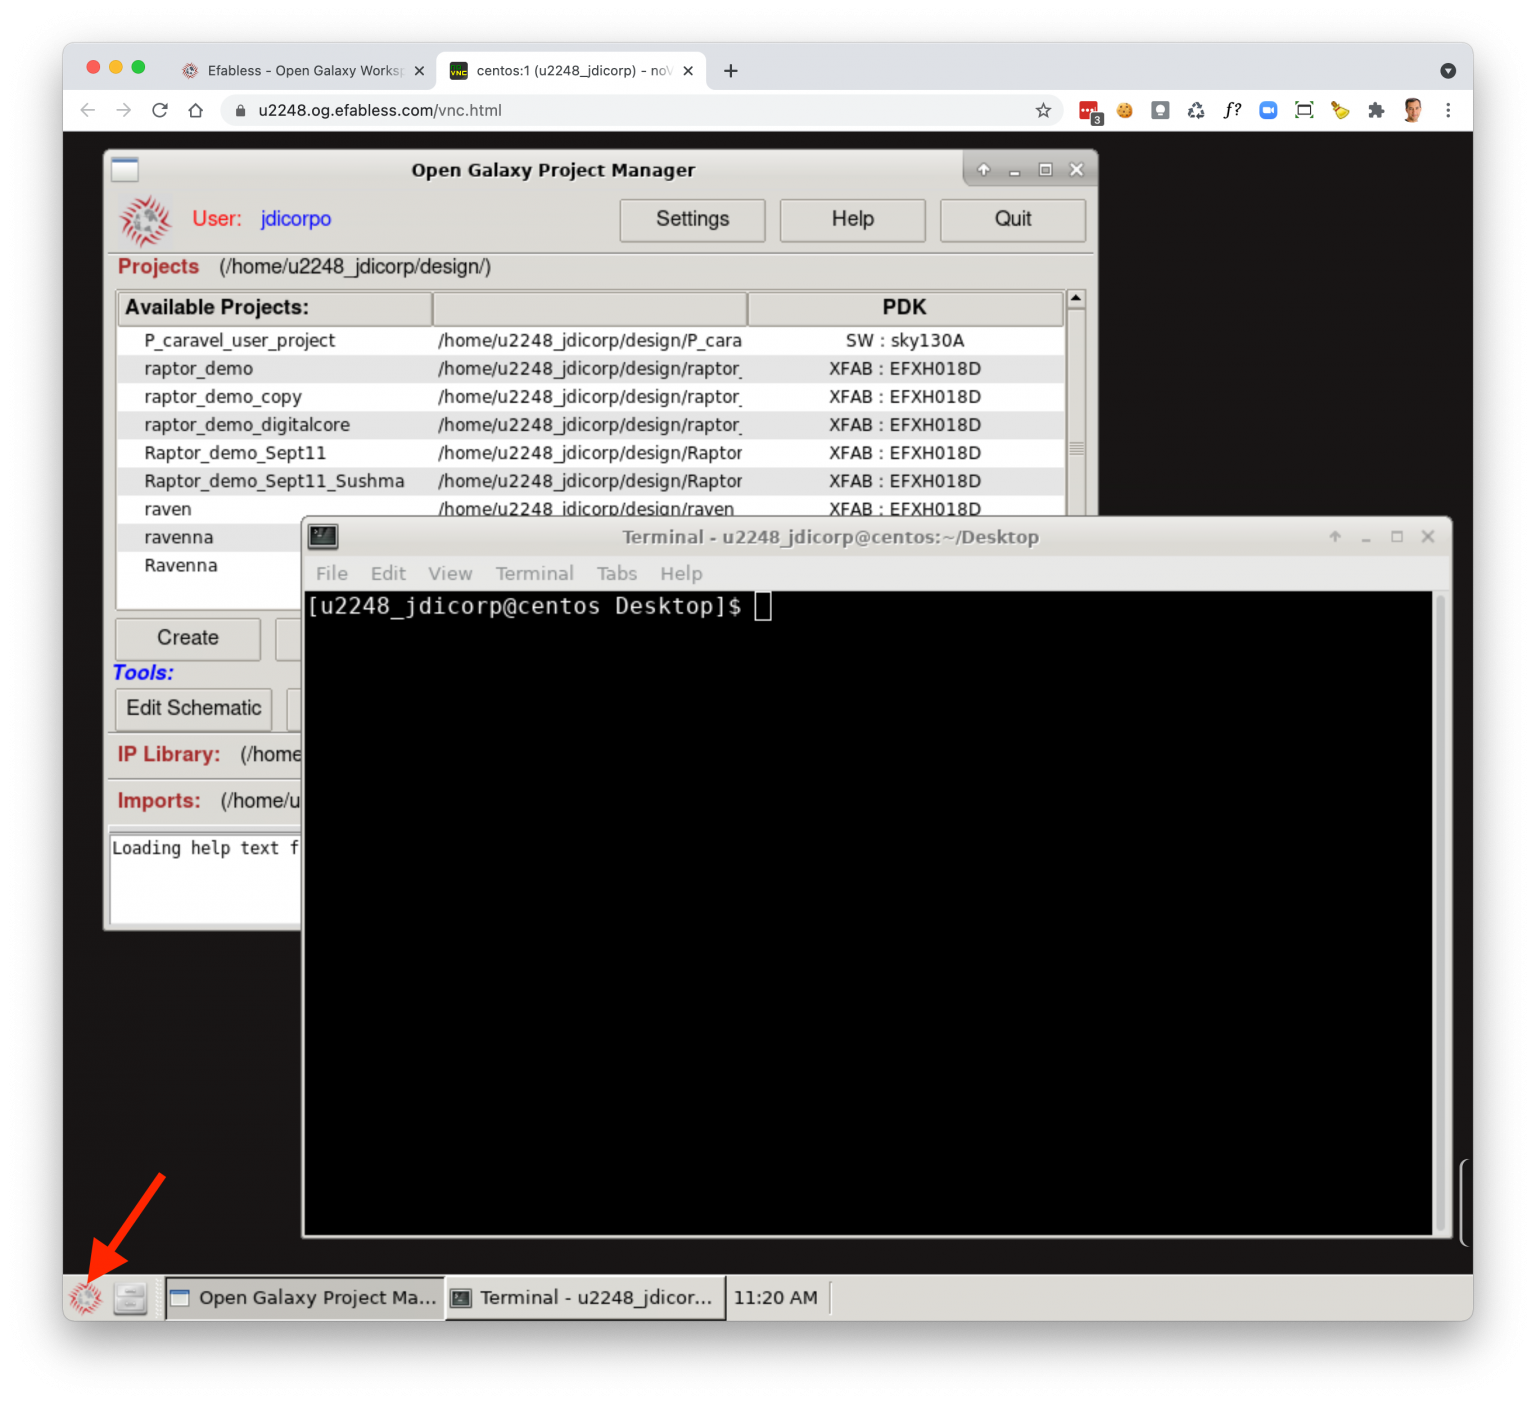
Clicking in the lower left on the Efabless icon will also bring up the Open Galaxy project manager.
From the terminal window, change directory to the new workspace / project you created by going to parent directory -> design -> [ workspace name ].
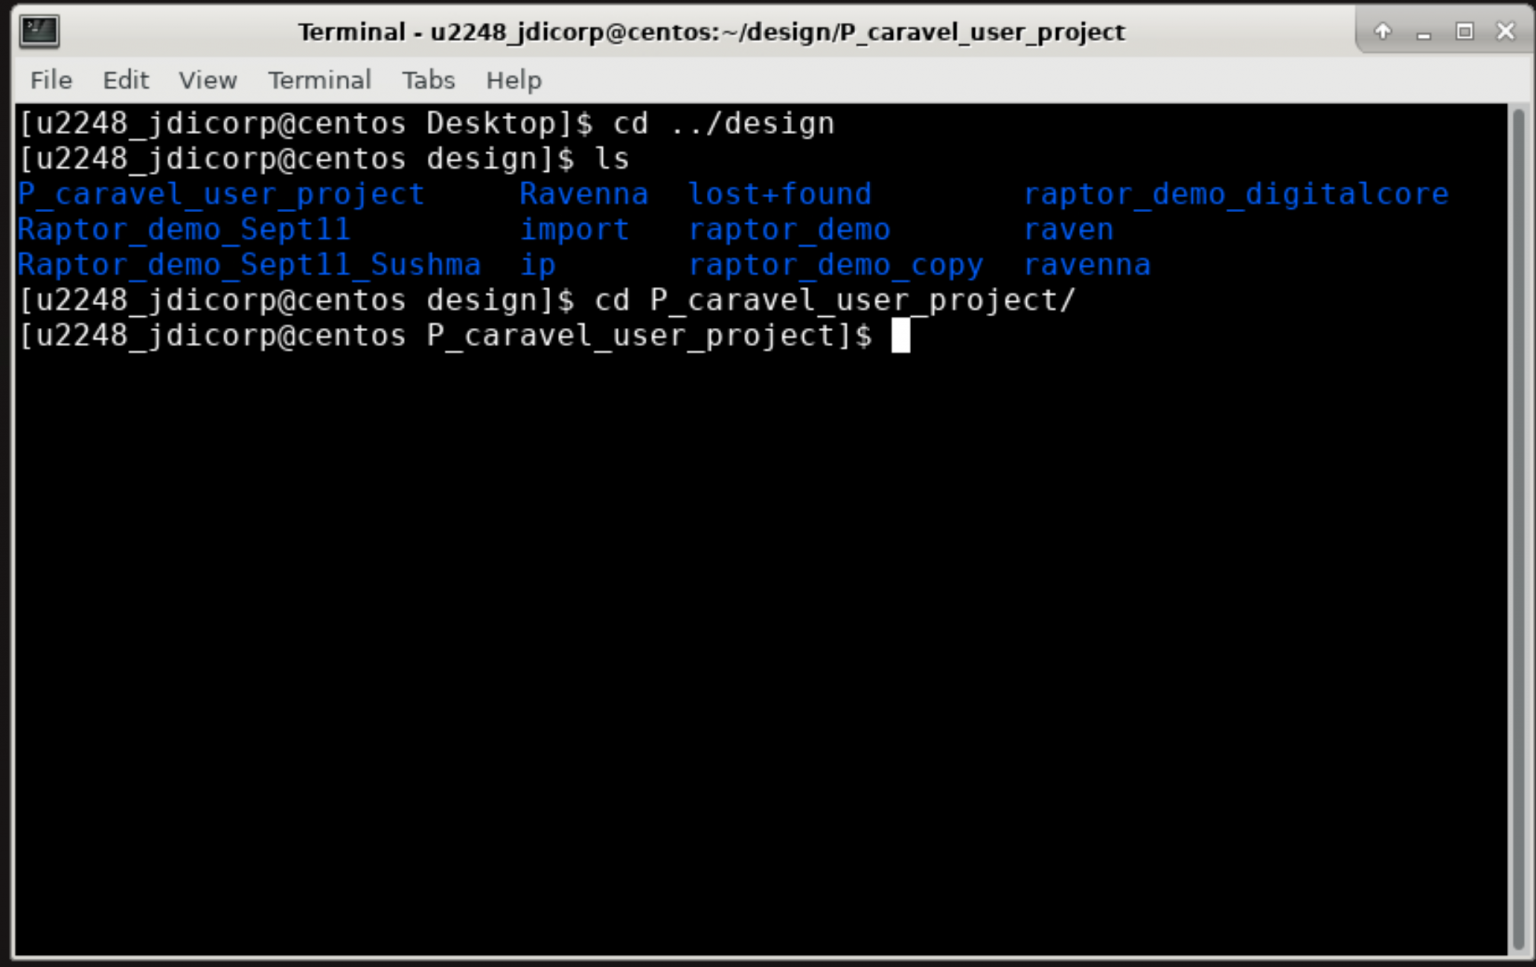
There are two macros in Caravel User Project to be hardened: user_proj_example and user_project_wrapper.
Note – you do NOT need to make openlane or make pdk. Both of these are pre-built and exist on the platform already.
To run OpenLane to harden the first macro, type ‘make user_proj_example‘ from the project root directory. The make target will issue a command called ‘openlane-cli’ to submit the job to the background job manager to execute.
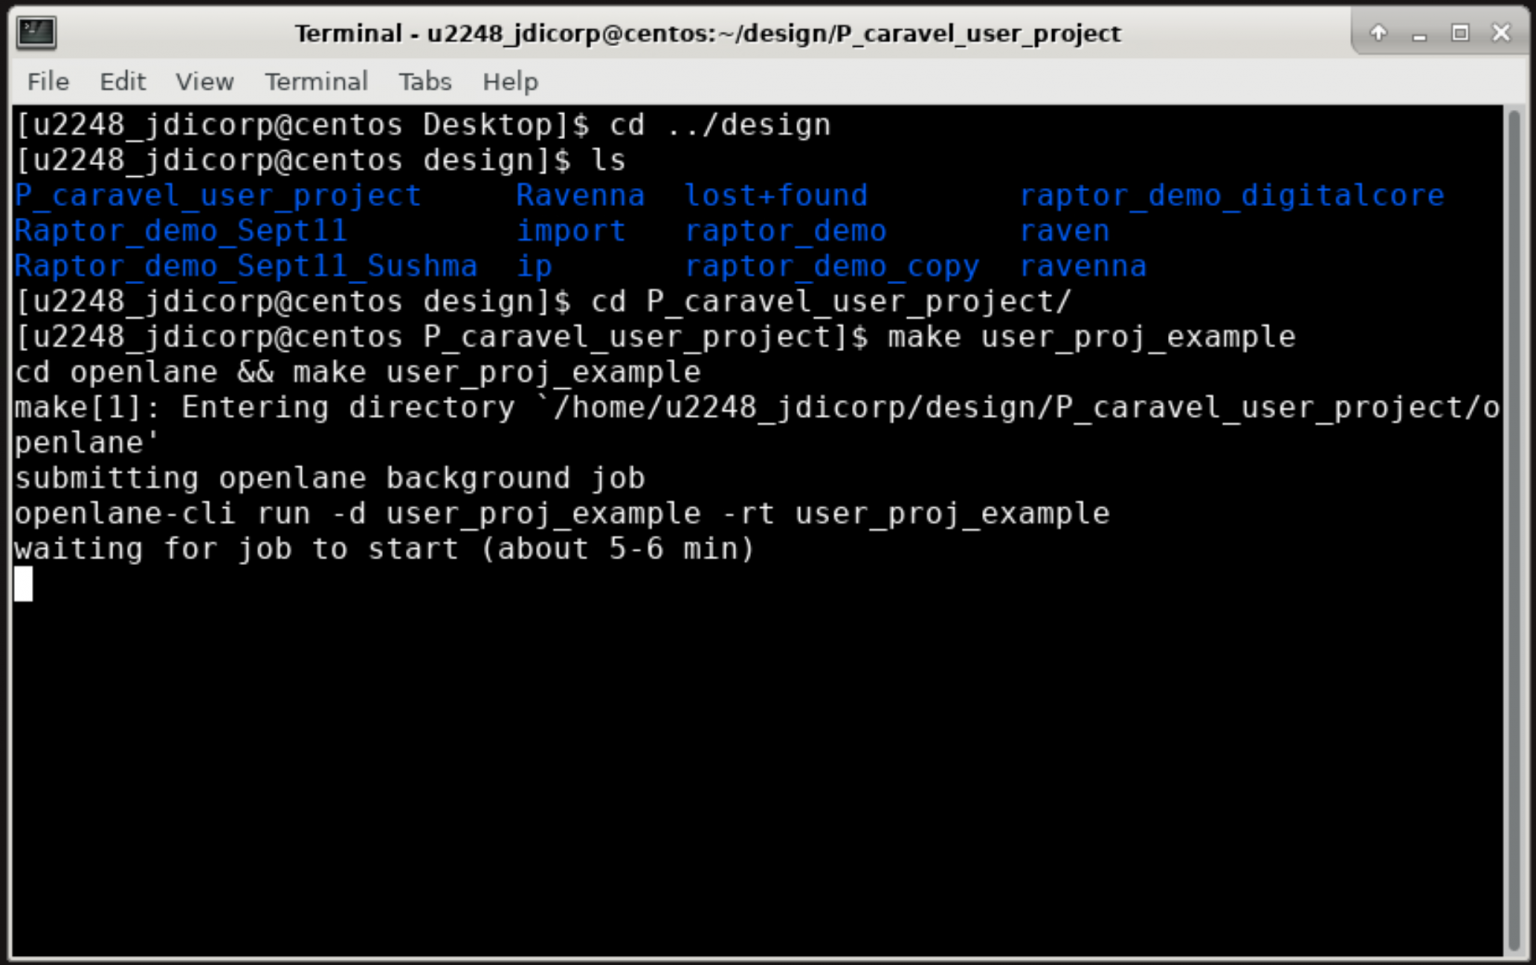
It will wait for the job to start which takes about 5-6 minutes and then tail the log output once it begans.
Wait for the job to complete successfully and then press ‘ctl-c’ to stop tailing the log output. Results from the job can be found under ./openlane/user_proj_example/openlane/runs/user_project_example/.
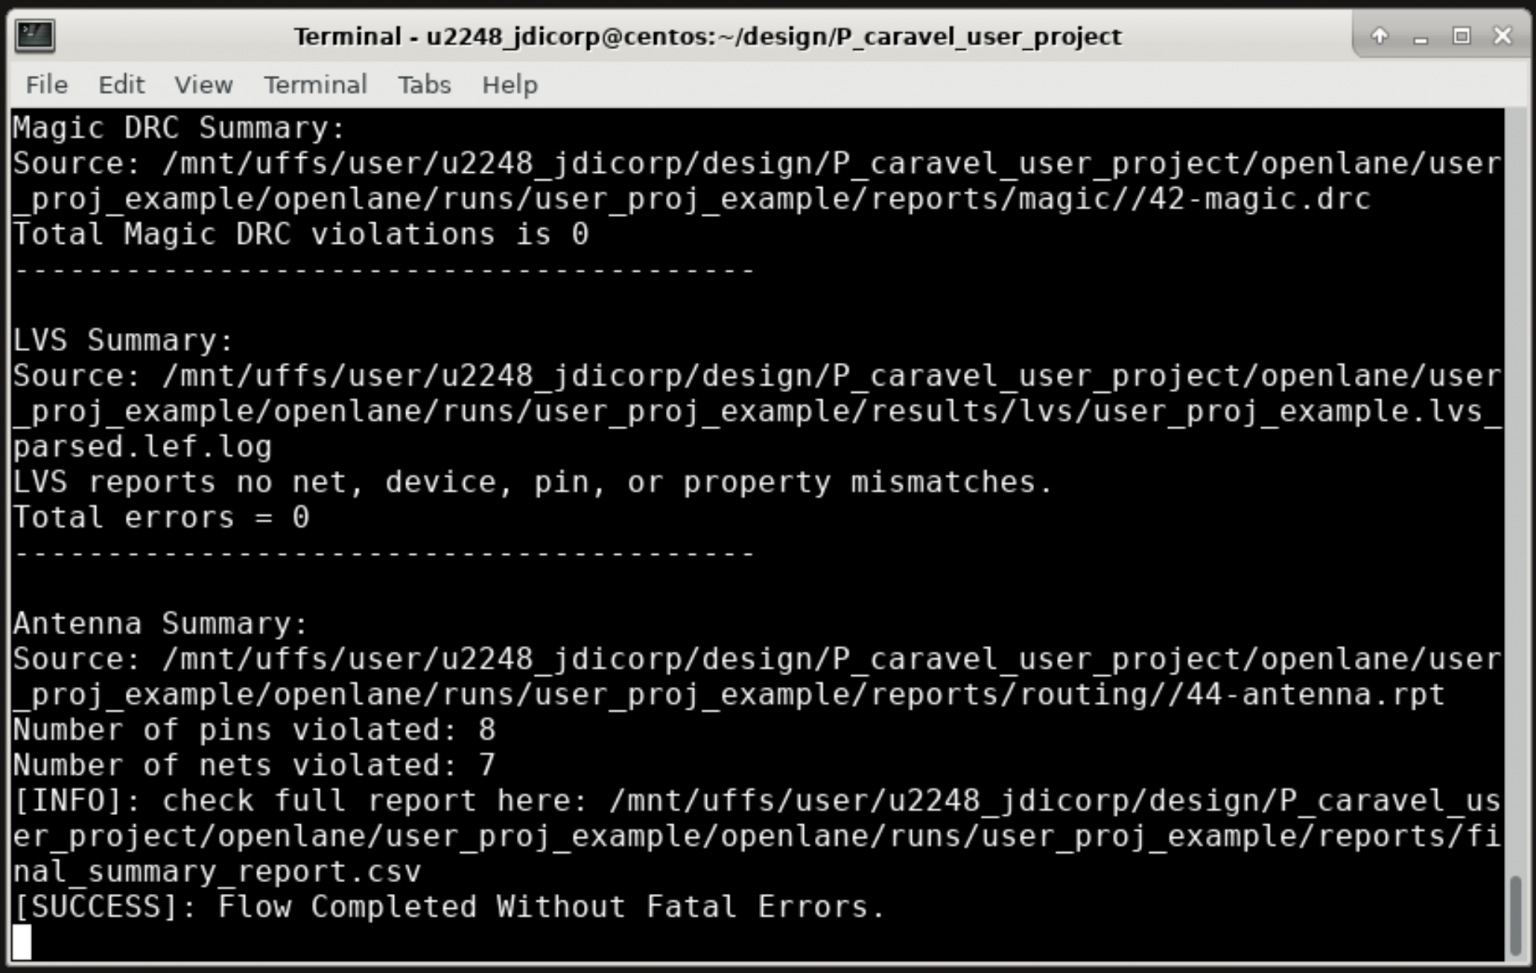
After hardening user_proj_example, you need to copy the newly generated files from the job results to the target directories for the project. To do this, type ‘make migrate‘.
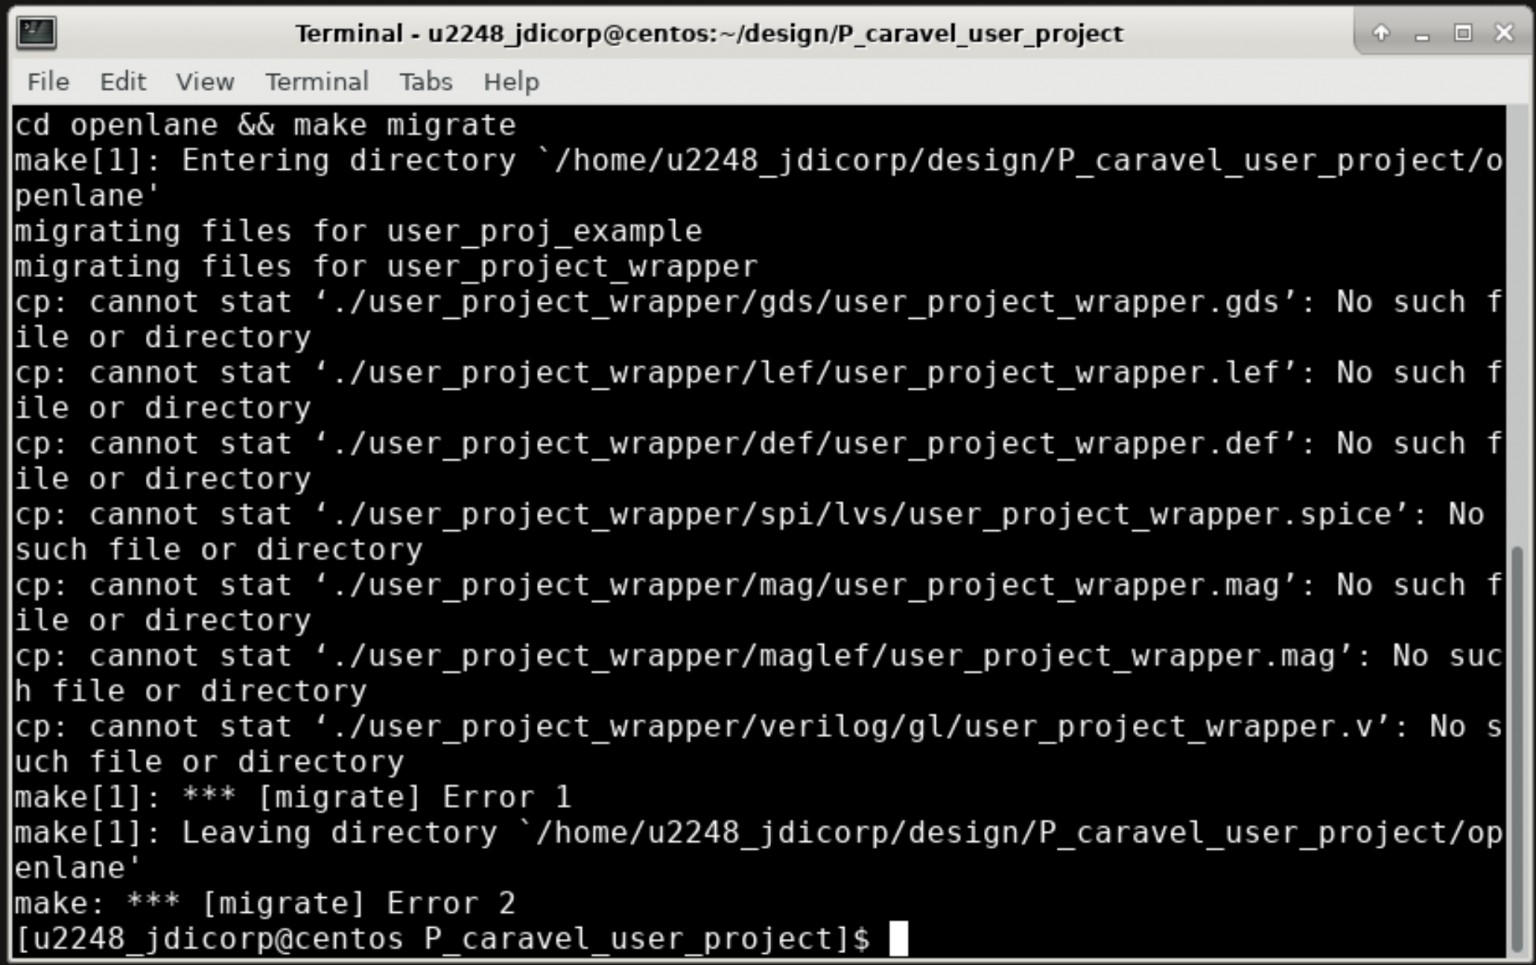
You will see some errors for missing files related to ‘user_project_wrapper’.
Next, you need to harden user_project_wrapper. To do so, run ‘make user_project_wrapper‘ from the project root directory. You will see the same output waiting for the job to start, and then tailing the log output.
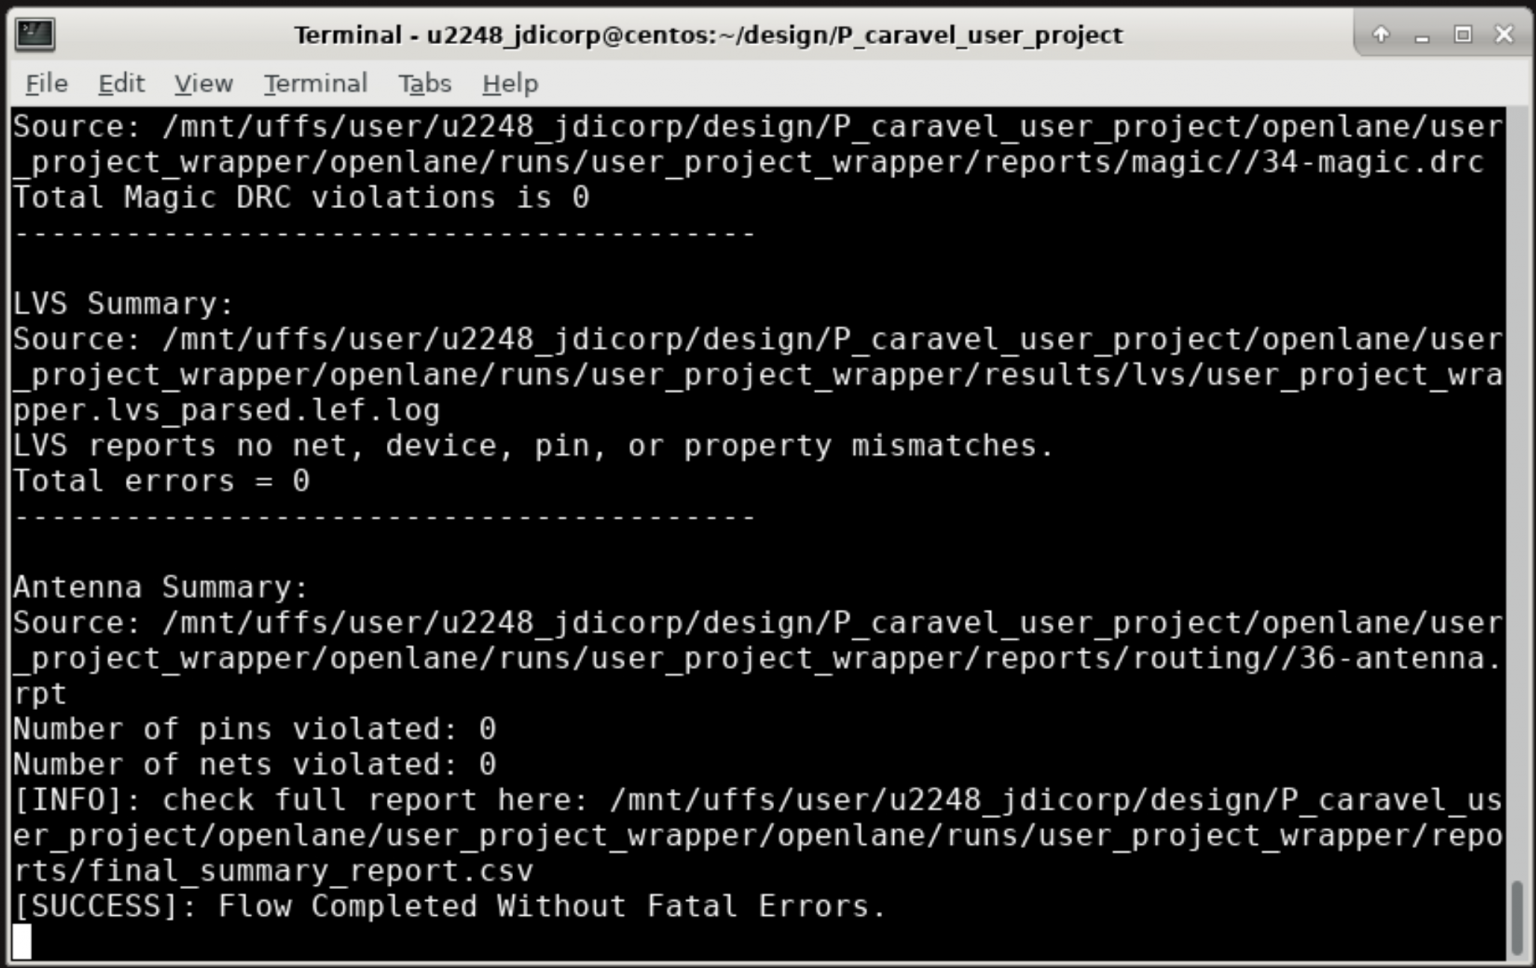
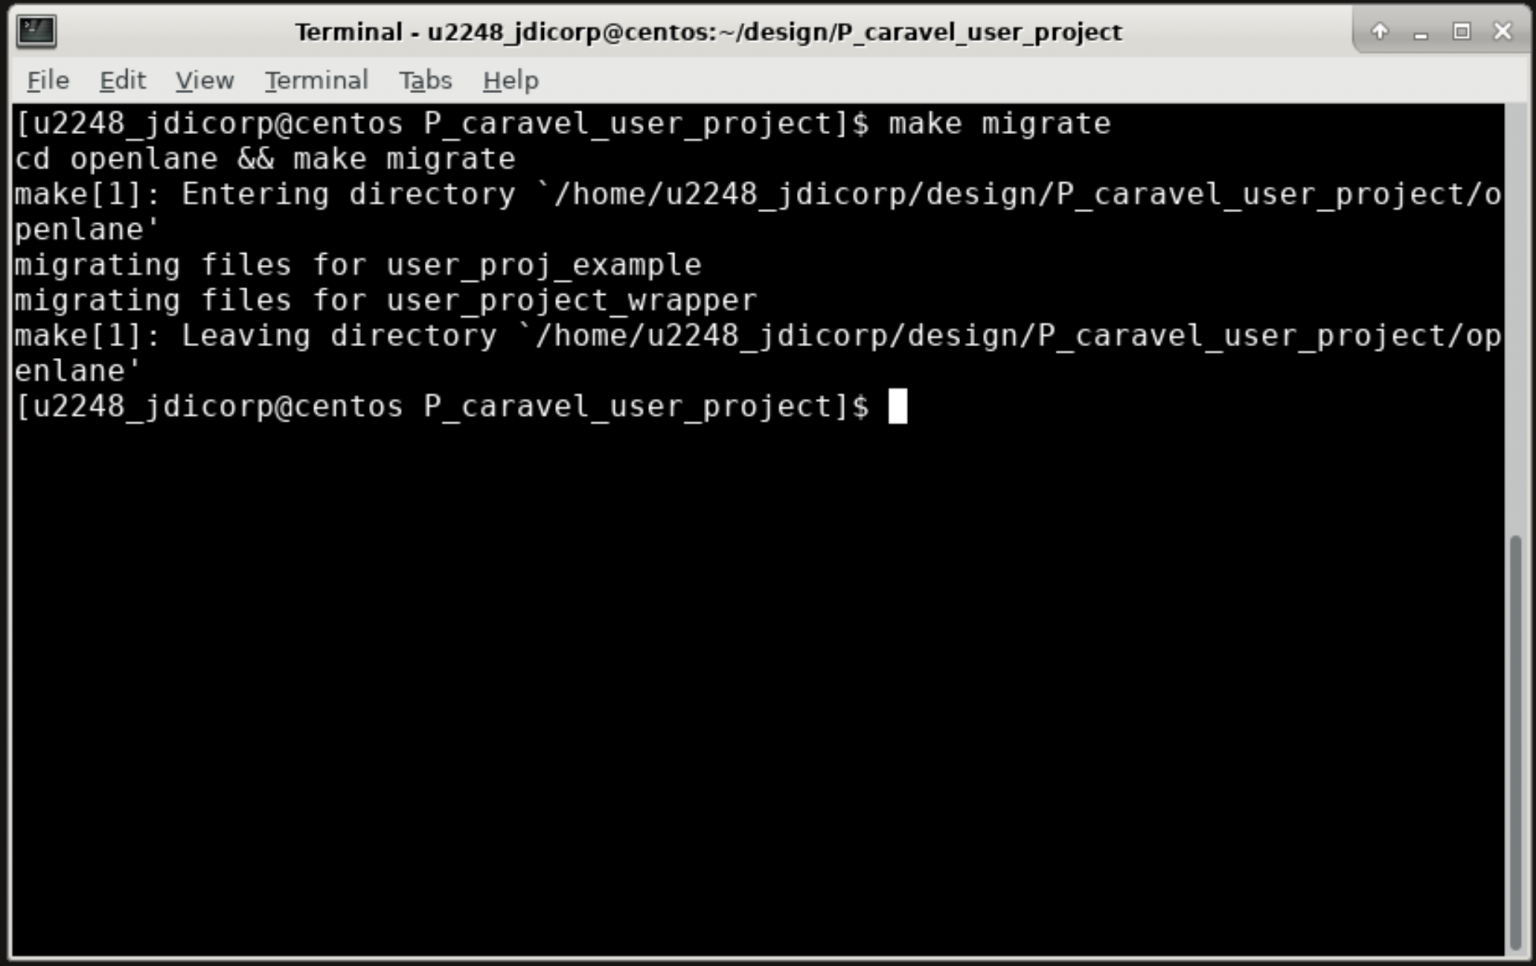
Once the OpenLane job completes, you will need to migrate the generated files to the target directories as before. Run ‘make migrate‘ to copy the files.
You can see the final GDS using klayout. From the root directory, type ‘klayout gds/user_project_wrapper.gds‘.
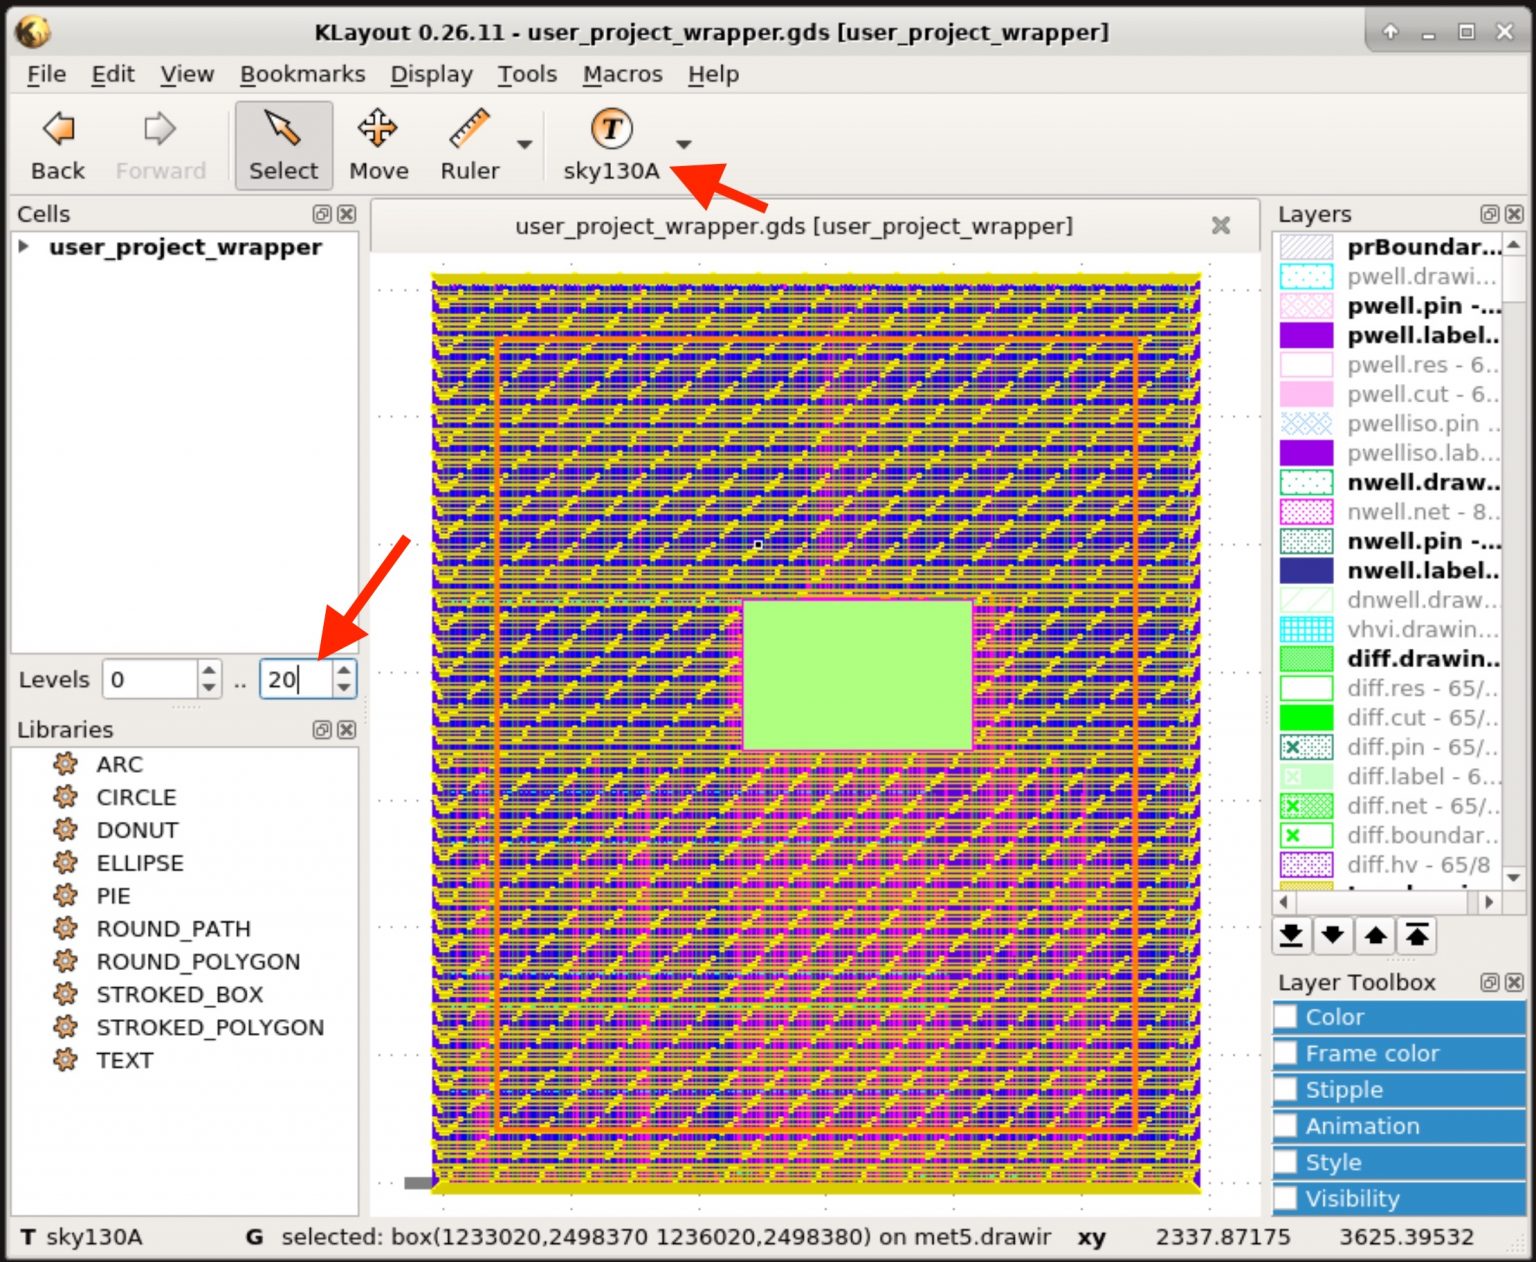
Note – you can select the ‘sky130A’ tech file in the menu at the top as shown to display the correct layer mapping. Also increase the hierarchy level (e.g. 20) to see all cells in the design.
To learn more about Caravel, Caravel User Project, or OpenLane, see one the following links.
![[object Object]](https://umsousercontent.com/lib_CUsguFEVafmoKCKW/ns6hm1s6vu8ctynd.png?w=334)