![[object Object]](https://umsousercontent.com/lib_CUsguFEVafmoKCKW/ns6hm1s6vu8ctynd.png?w=334)
First, start by creating a new Cloud V workspace.
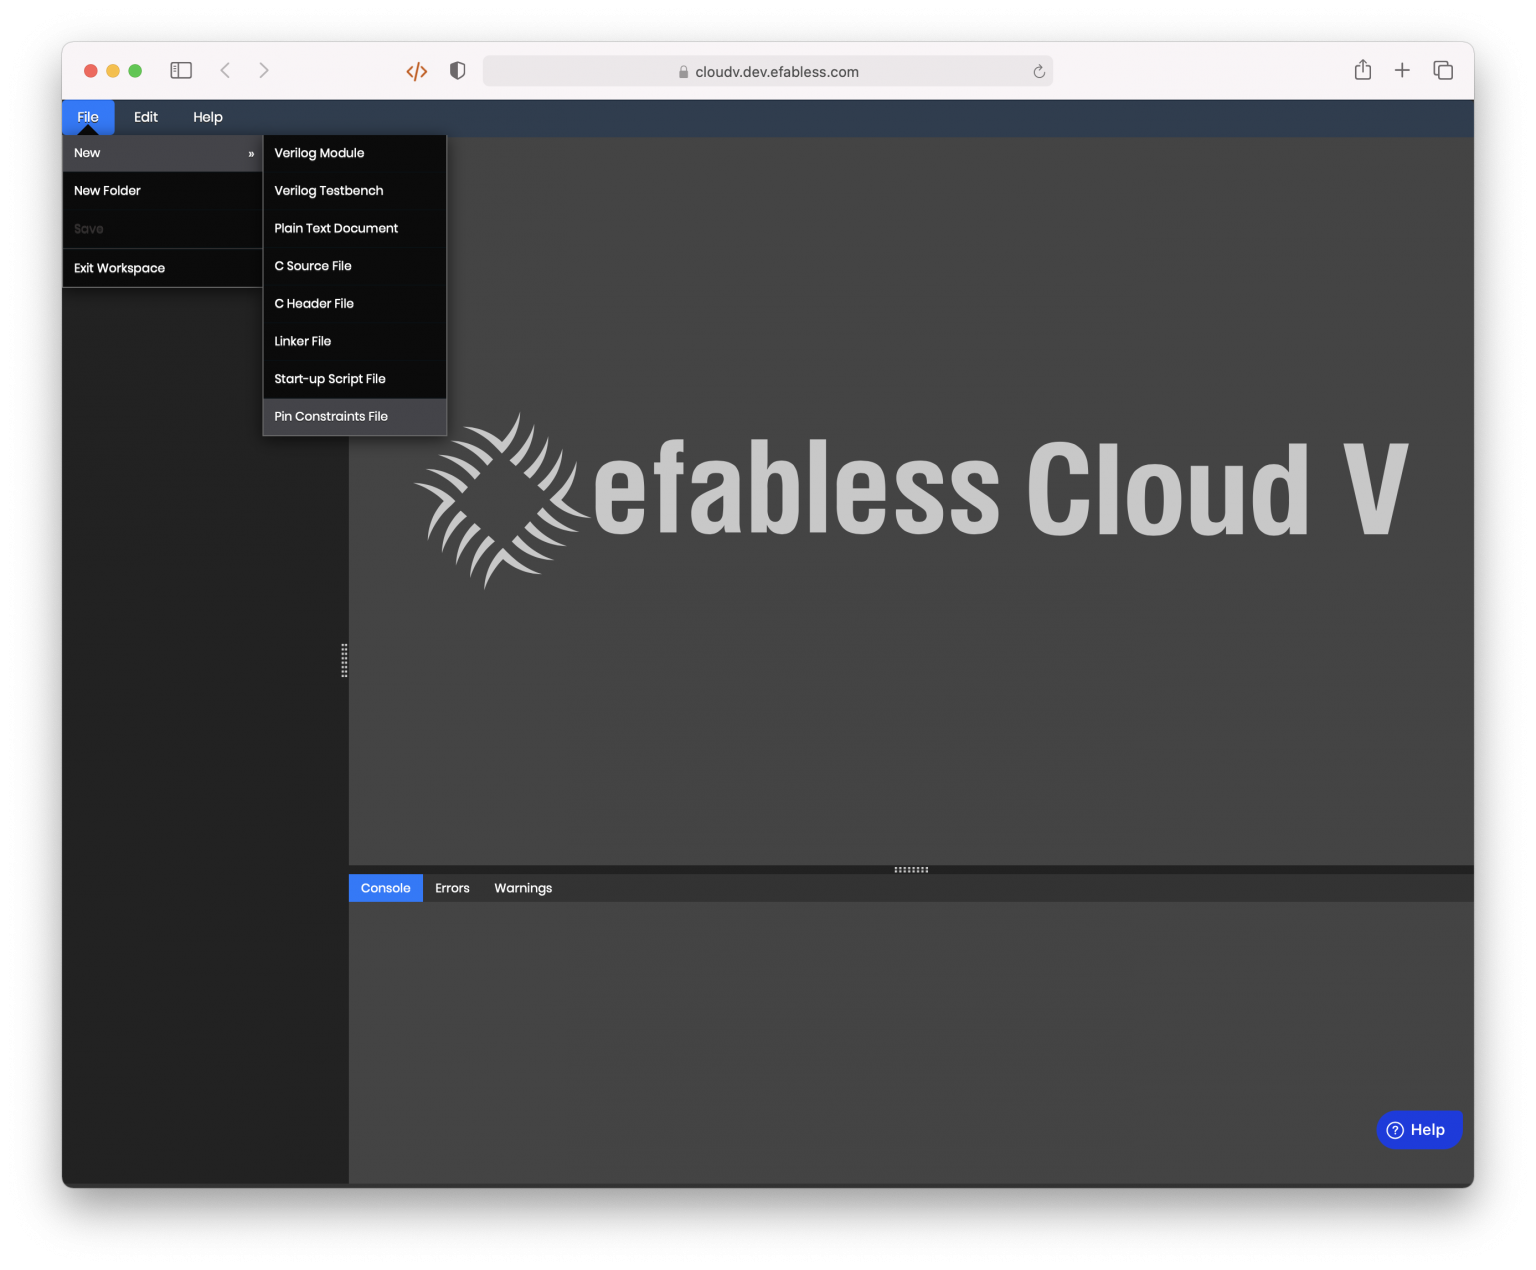
We’ll start by creating a Pin Constraints File as shown:
The following dialog will show up. Pick your desired FPGA family and board, and give the file a name.
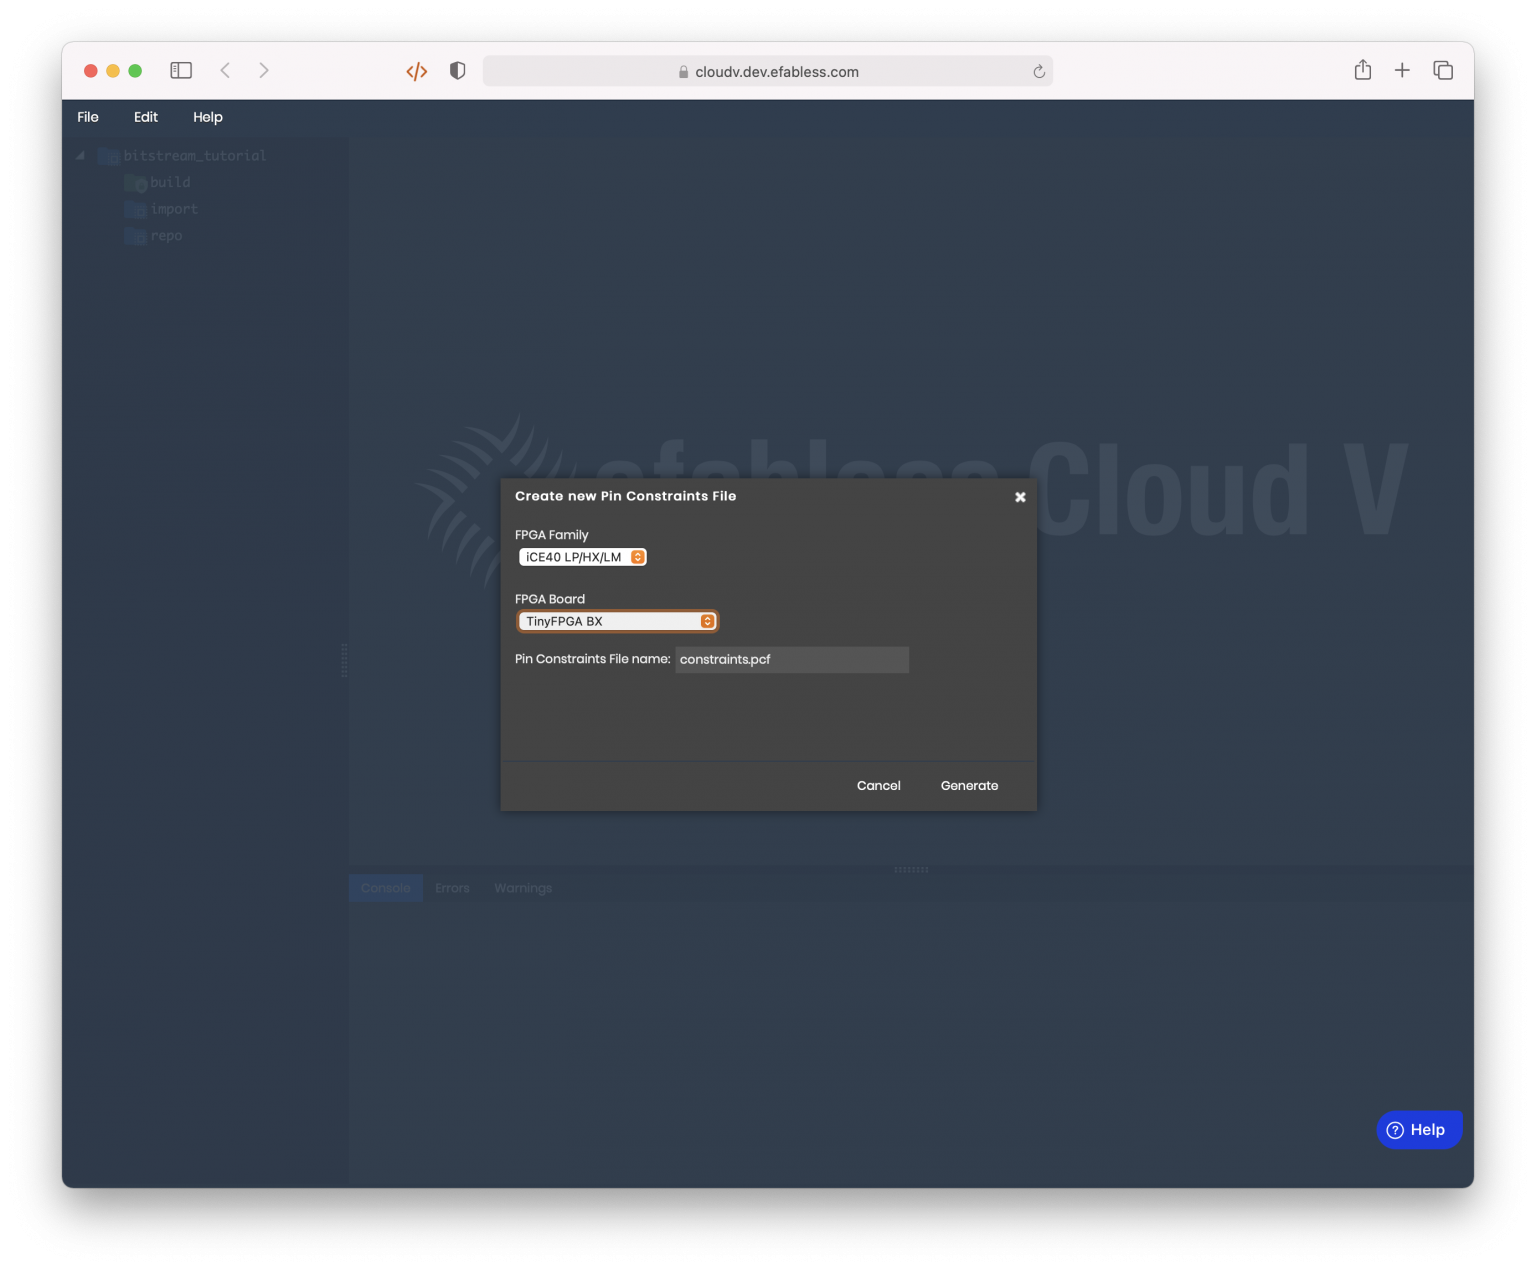
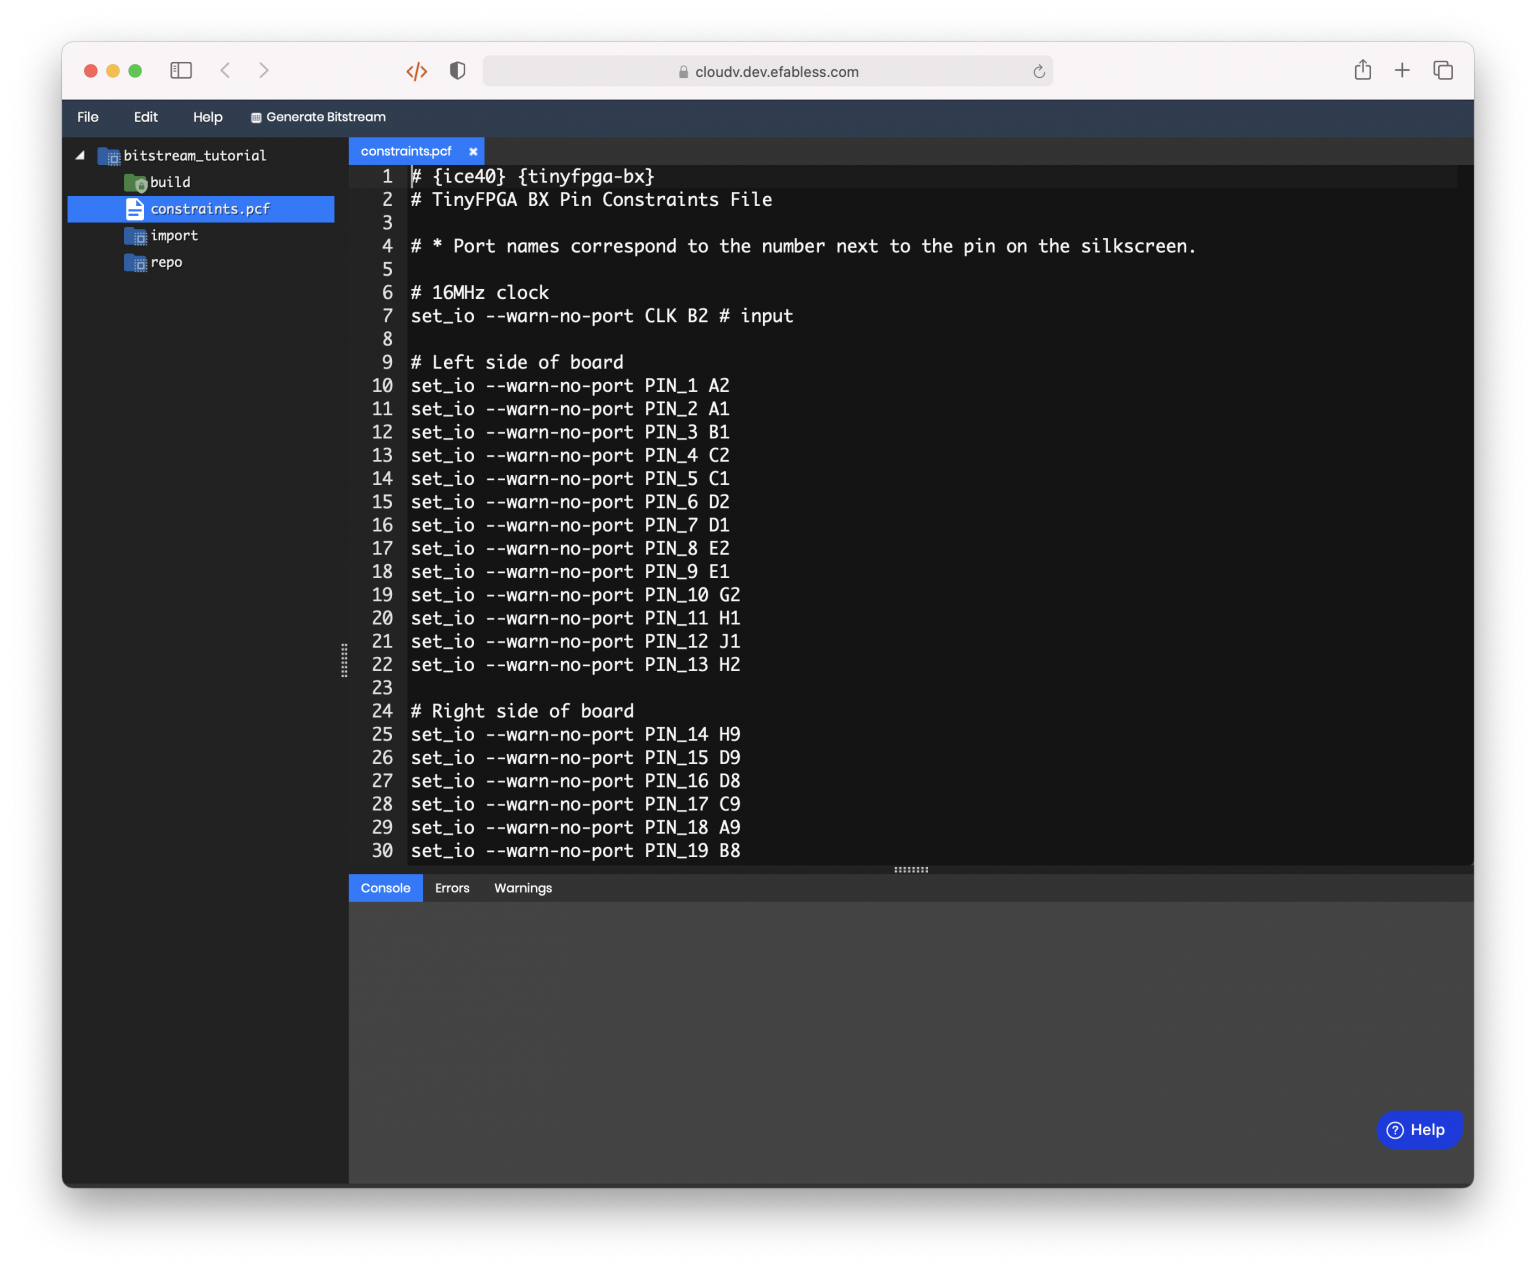
Pin-constraints file are, for your convenience, pre-populated! You don’t have to actually go in and add port names and CPLD names manually.
Then create a Verilog file as you desire. Ensure that the top module’s names are consistent with the I/O ports, I.E.:
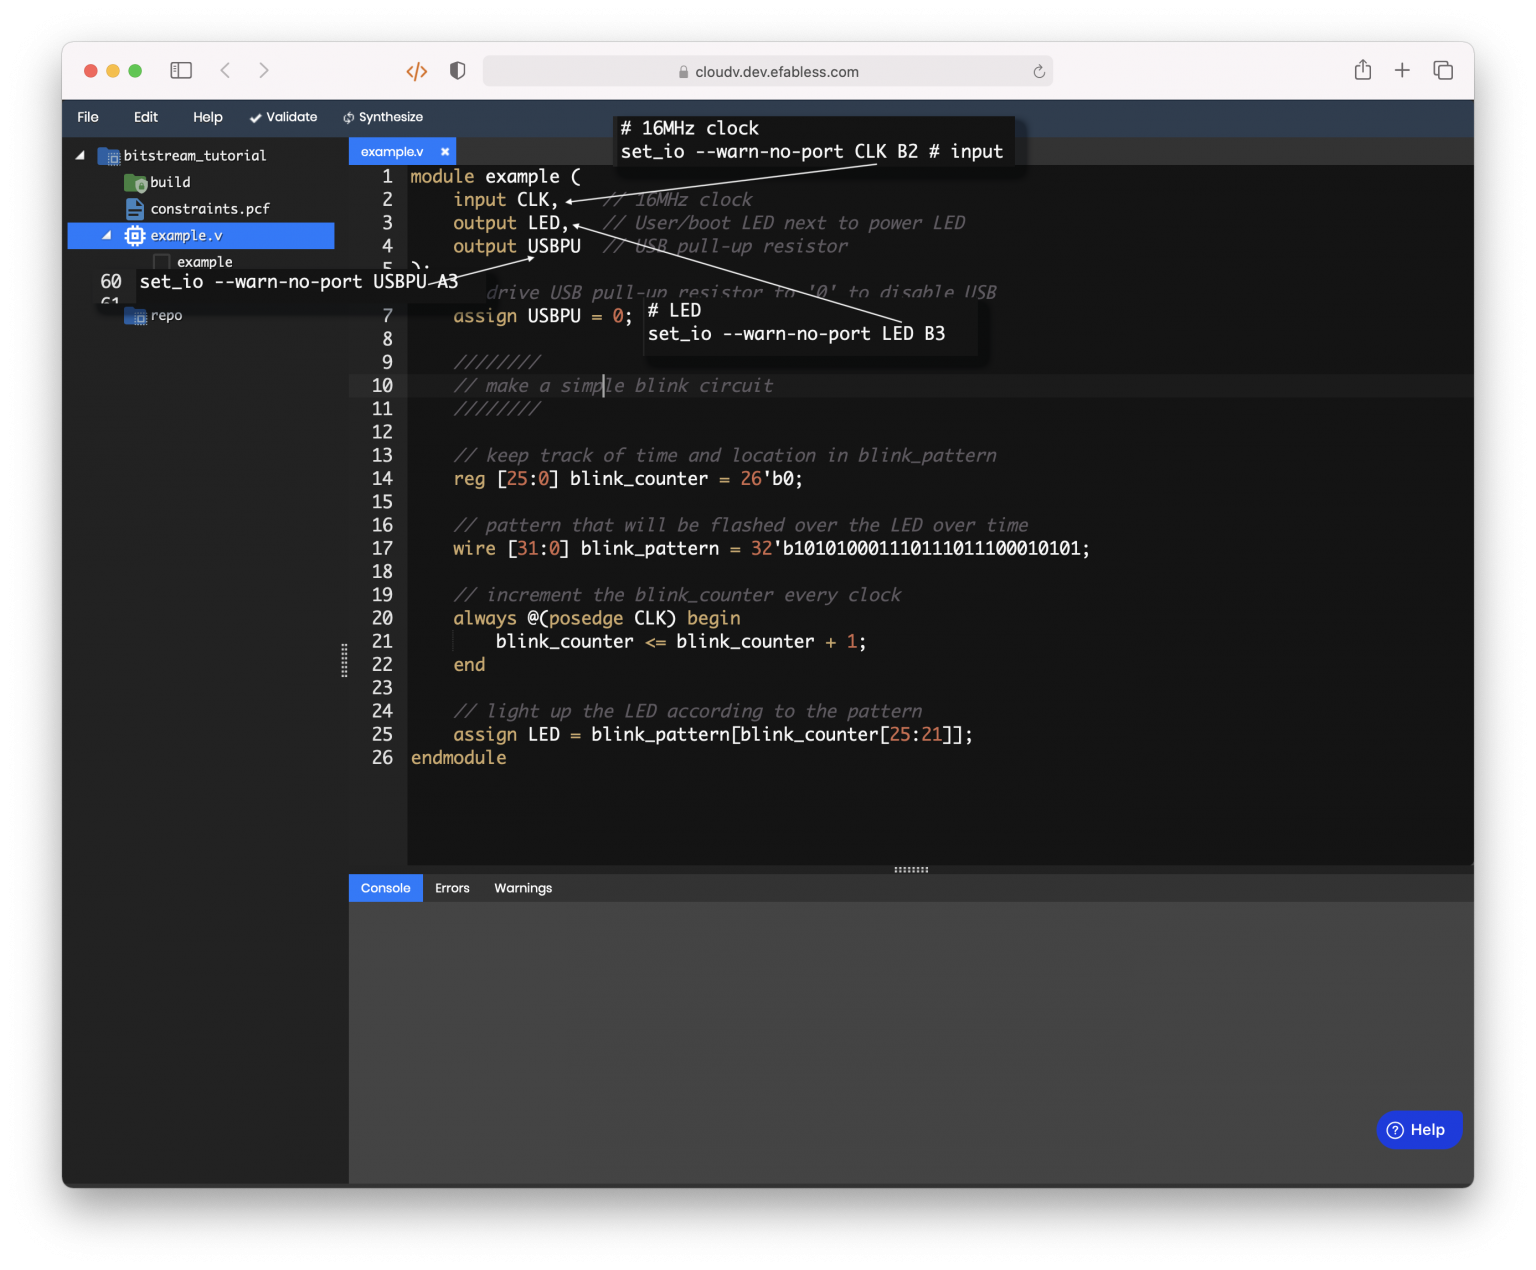
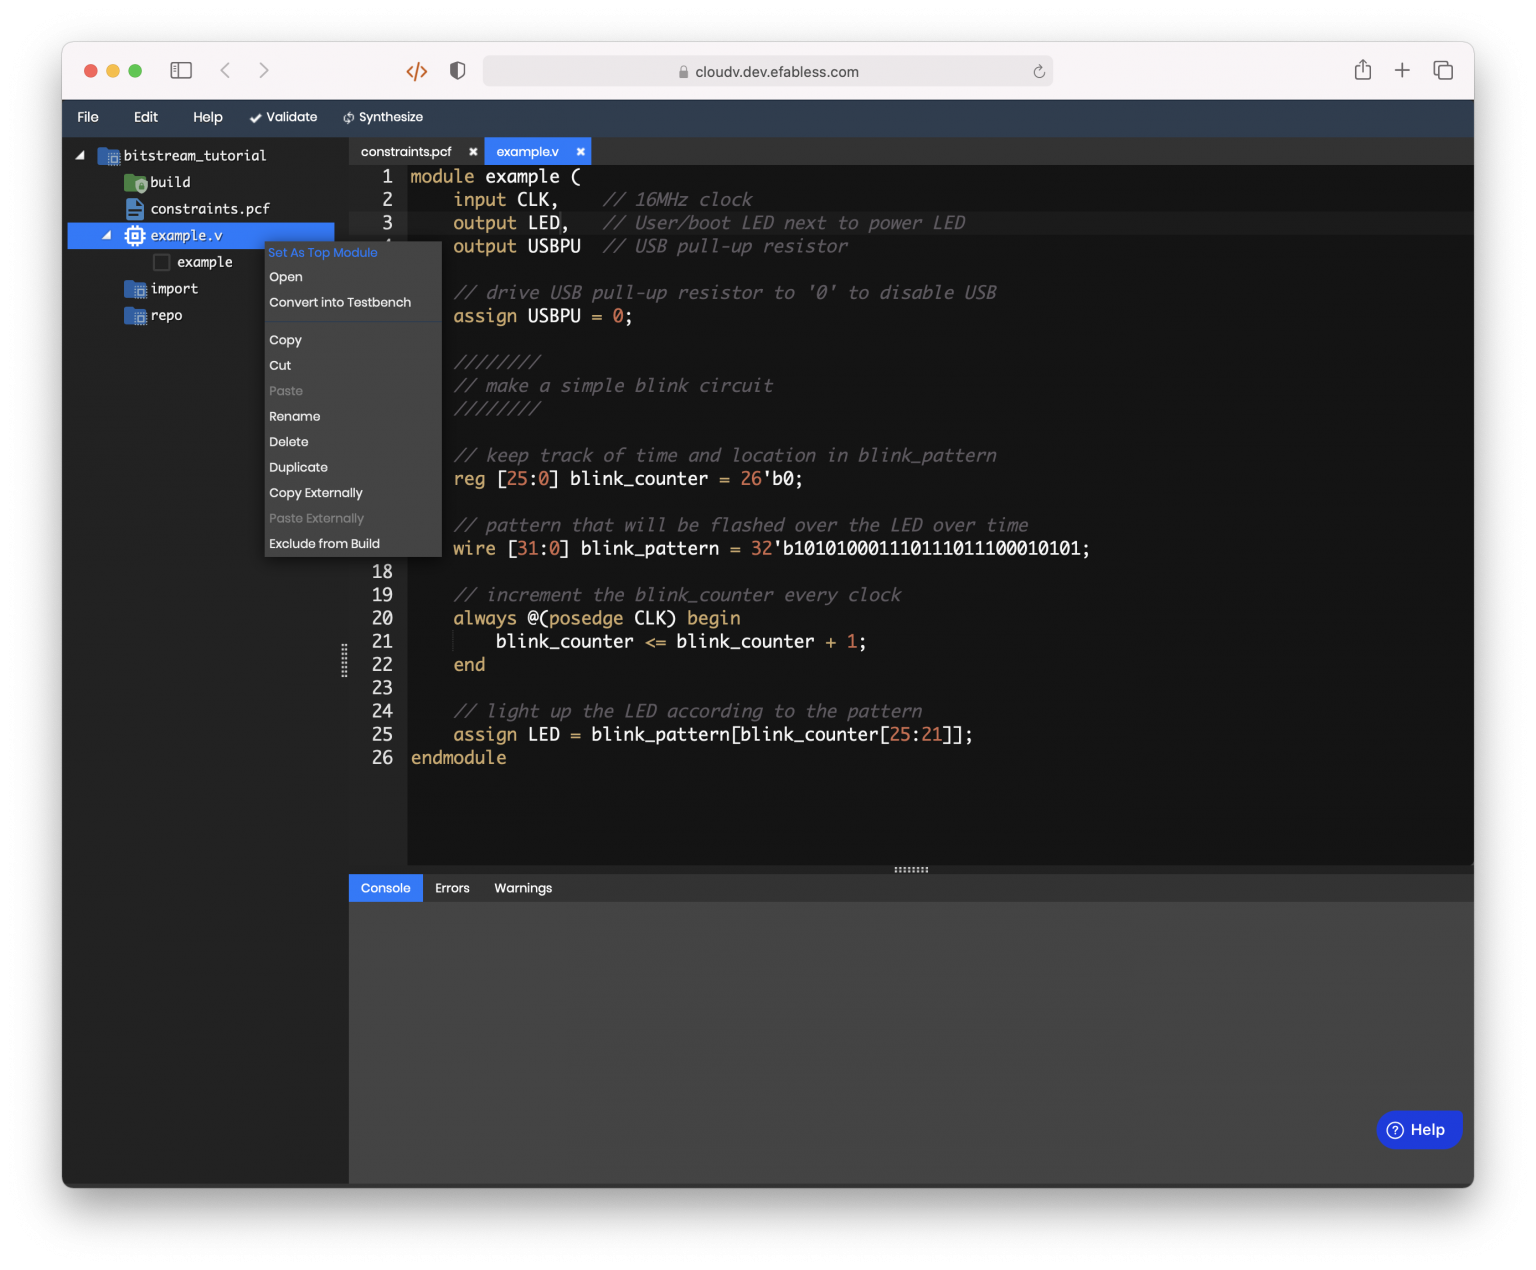
Don’t forget to set your module as the top module!
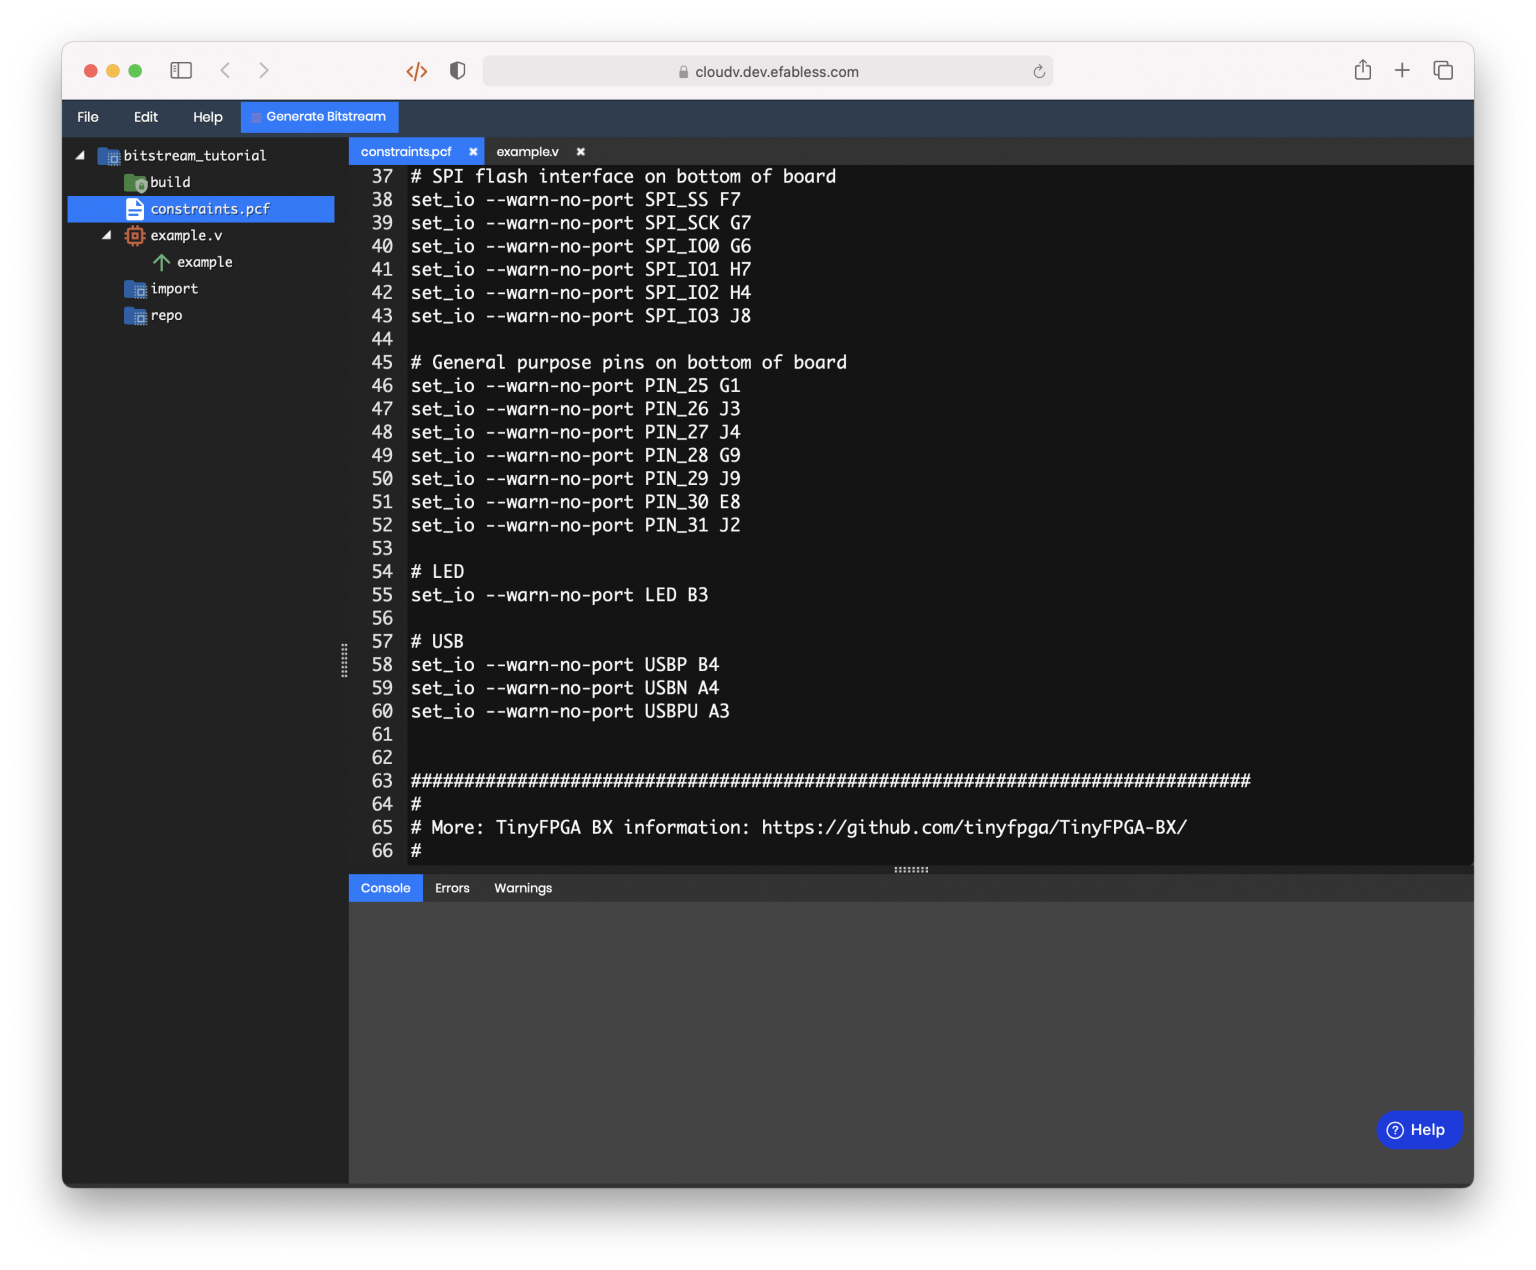
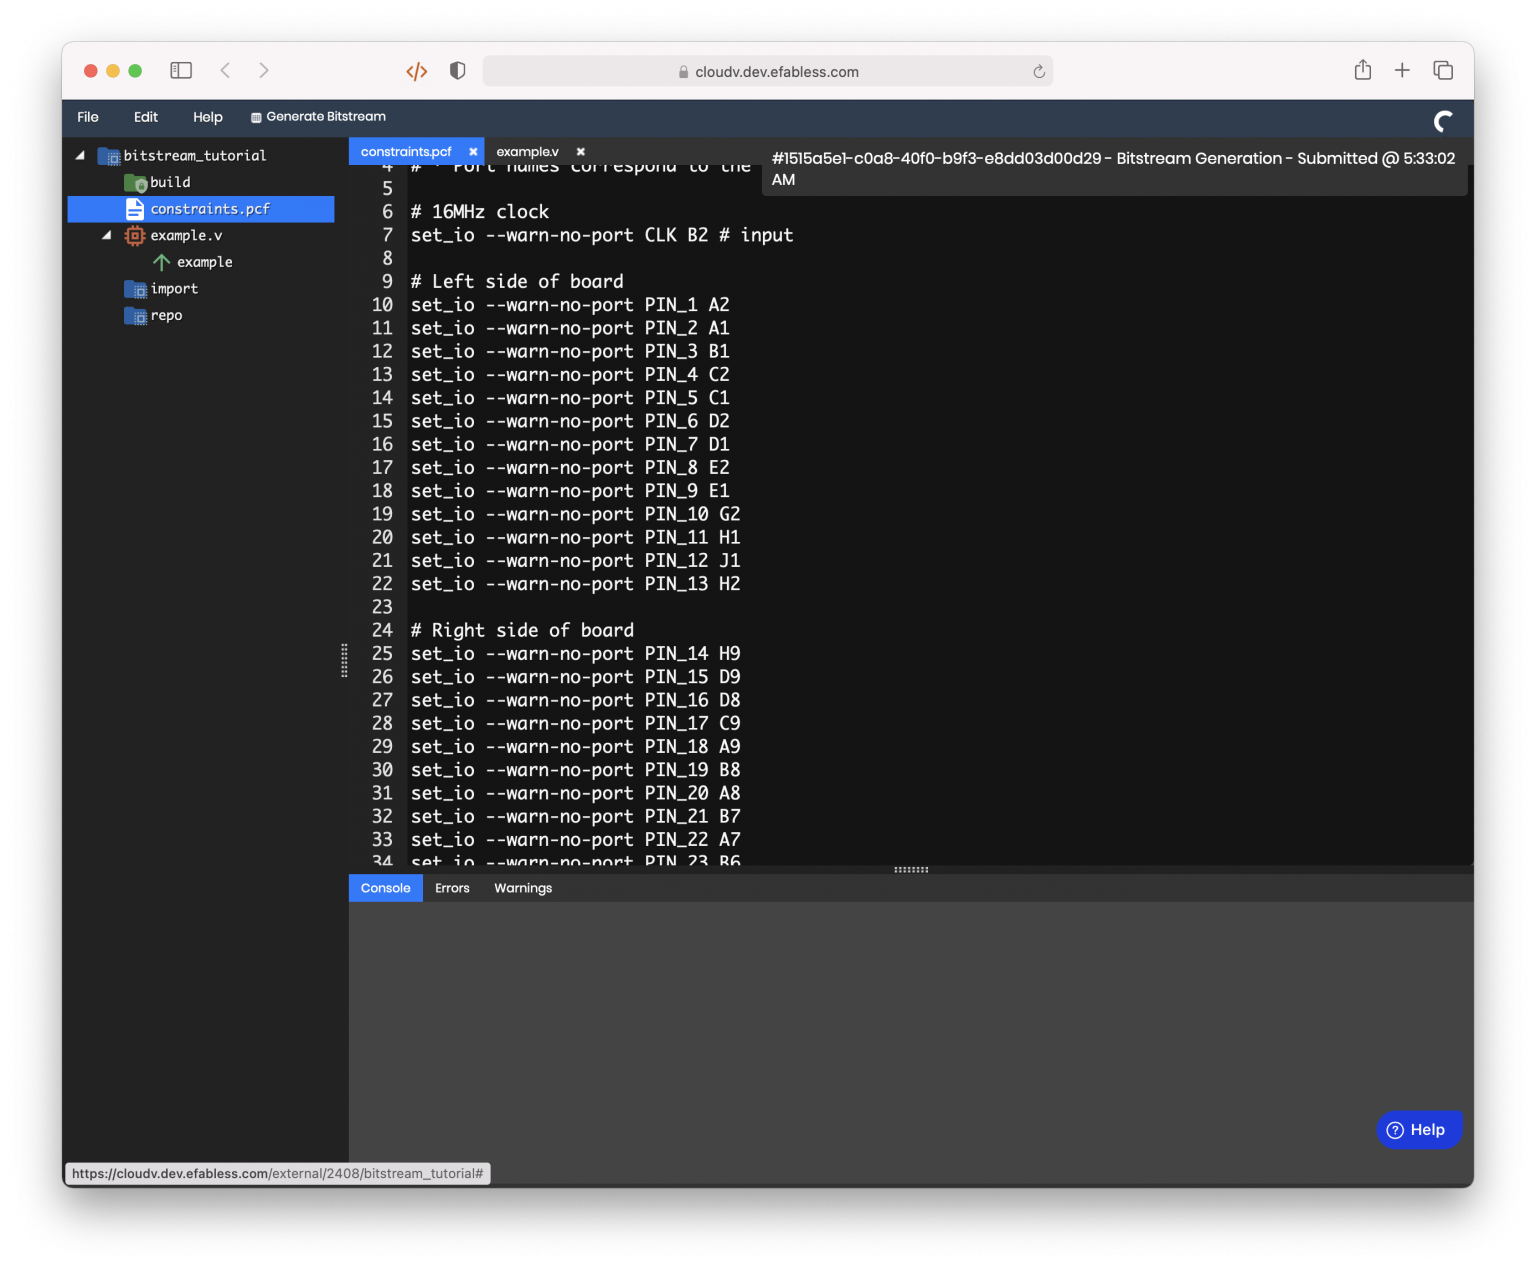
Now that the module is done, go back to the PCF and you’ll find a button at the top called “Generate Bitstream.” Go ahead and press that.
This dialog is already pre-filled for you with values from your PCF. But in case you want to pick another board and PCF, or another family altogether even, feel free. The values represented by the PCF are marked with [*].
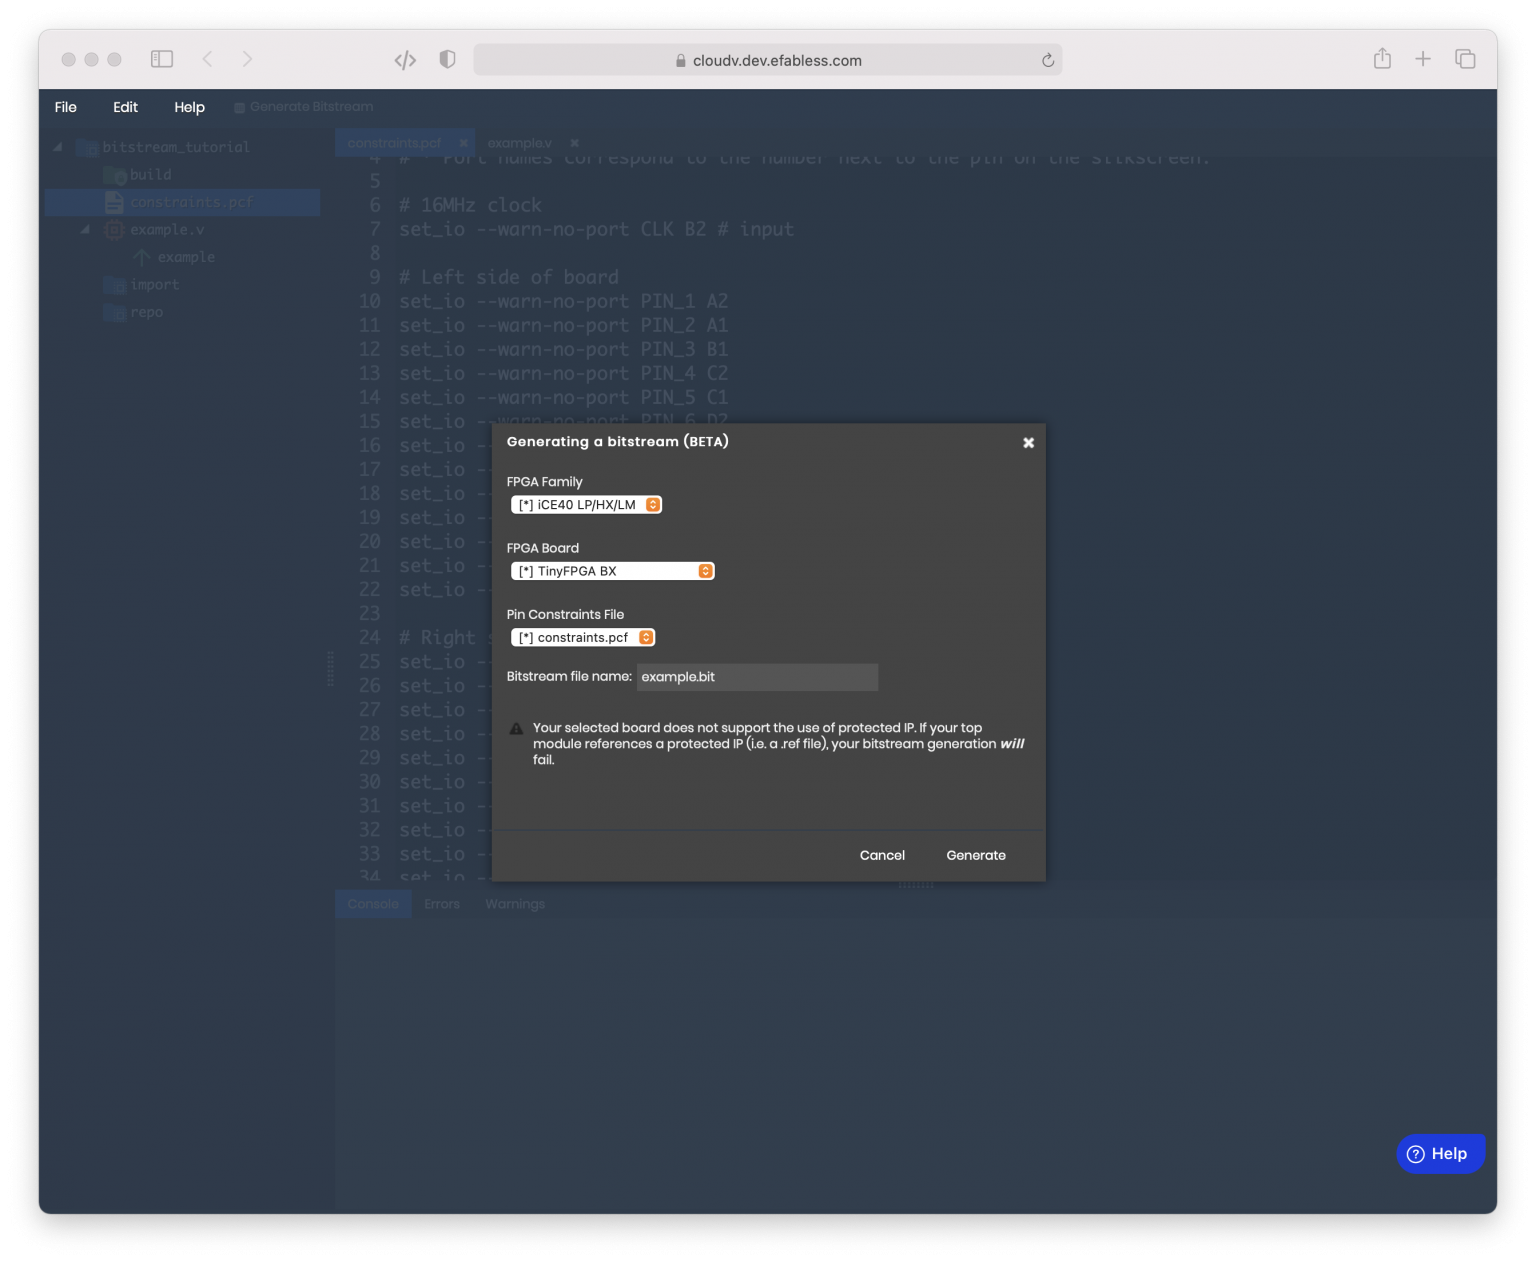
Go ahead and press the Generate Button. Like synthesis, Bitstream Generation is a long-running job. Depending on the size of your design, you may want to go get a coffee.
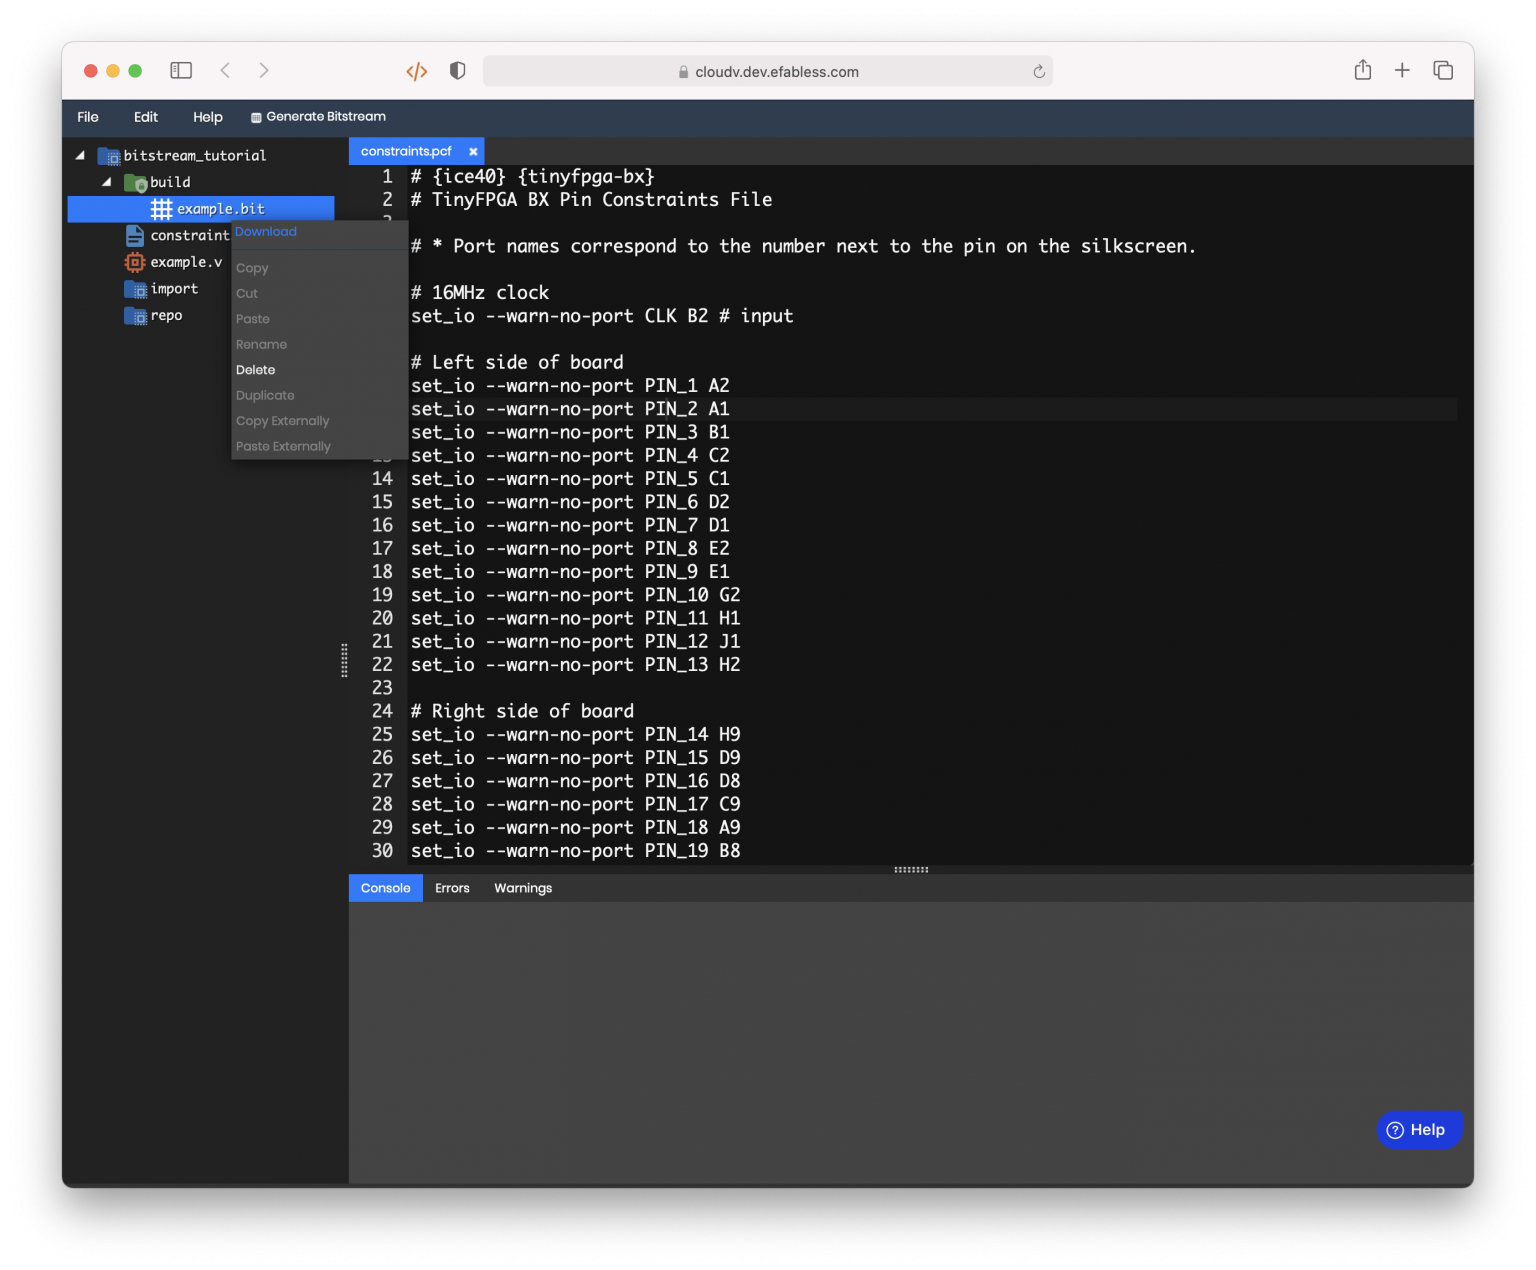
After it’s done, you’ll find the bitstream in your build/ folder. Right click and Download it.
Now, you just have to program your FPGA. We’re on a bring-your-own-programmer policy for now.
Programmer Recommendations
iCE40
- TinyFPGA BX tinyprog
- Lattice iCEStick and iCE40-HX8K Breakout Board
- Lattice Diamond Programmer (Proprietary)
- Icestorm (Open Source)
- Icestorm is available in some software repositories, but you may find that you need to build it from source. Luckily, it’s a pretty fast build.